Home-made snowskin mooncakes
Overview
How to cook Home-made snowskin mooncakes at home
Tags
Ingredients
Steps
-
Pour the snowskin mooncake powder into the stainless steel pot.

-
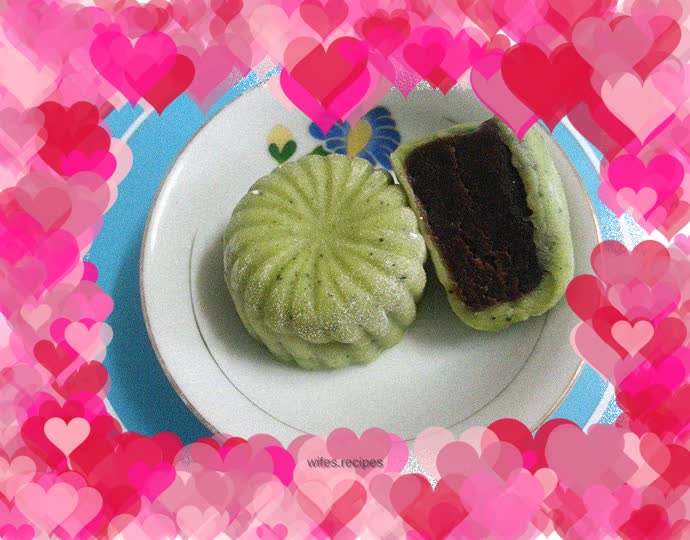
In order to make the color look better and get a different taste, I also added matcha powder, and you can also add cocoa powder.

-
Add 96 grams of boiling water and stir quickly with chopsticks while pouring the water.

-
Knead into a uniformly colored dough and set aside.

-
Divide into several small balls according to the ratio of 30 grams of crust and 20 grams of filling or 20 grams of crust and 30 grams of filling.

-
Prepare a bowl of hand flour to prevent sticking (put the glutinous rice flour in the oven to heat for a few minutes and set aside)

-
Dip your hands into some hand flour, take a round ball and press it into a round piece, then take a ball of filling and place it on the round piece.

-
Fold the outer skin over the inner lining, and slowly wrap the filling. Be careful not to let the filling leak out when wrapping. You can also dip some hand powder in the wrapping process to make wrapping easier. When closing the mouth, pinch it tightly.

-
Round again.

-
Dip some hand powder on the ball and gently place it into the mold and press it.

-
Turn the mold upside down, tap it gently on the table, and a finished mooncake will come out.

-
After the snowskin mooncakes are made, if you want to give them away, you can buy a special mooncake packaging box and put them in the refrigerator for a few hours to taste better.

-
Finally, be careful not to store the snowskin mooncakes for too long. It is best to eat as much as you like, otherwise the skin will dry out and crack, affecting the taste.
