Yogurt mug
Overview
This is a photo I saved when I first learned to make yogurt mugs a long time ago. Yogurt Mukan Cup: Nutritious, delicious and healthy! The gluten-free and sugar-free digestive biscuits are relatively oily, and my family doesn’t like the feeling of being too finely chopped, so I specially pressed them into larger particles.
Tags
Ingredients
Steps
-
Have all materials ready

-
Break the gluten-free and sugar-free digestive biscuits into small pieces, put them into a dry powder cup, and crush them with a juicer

-
Scoop a spoonful of crushed biscuits into a cup and flatten them with the bottom of the spoon

-
Pour in the yogurt, pick up the cup and turn it around; the yogurt will evenly cover the biscuit crumbs

-
Pour in the yogurt, pick up the cup and turn it around; the yogurt will evenly cover the biscuit crumbs

-
Don’t fill it up at the end, as shown in the picture

-
I made four cups at once and followed the same method as before

-
Cover with plastic wrap and refrigerate overnight (you can also eat it directly without placing it in the refrigerator)

-
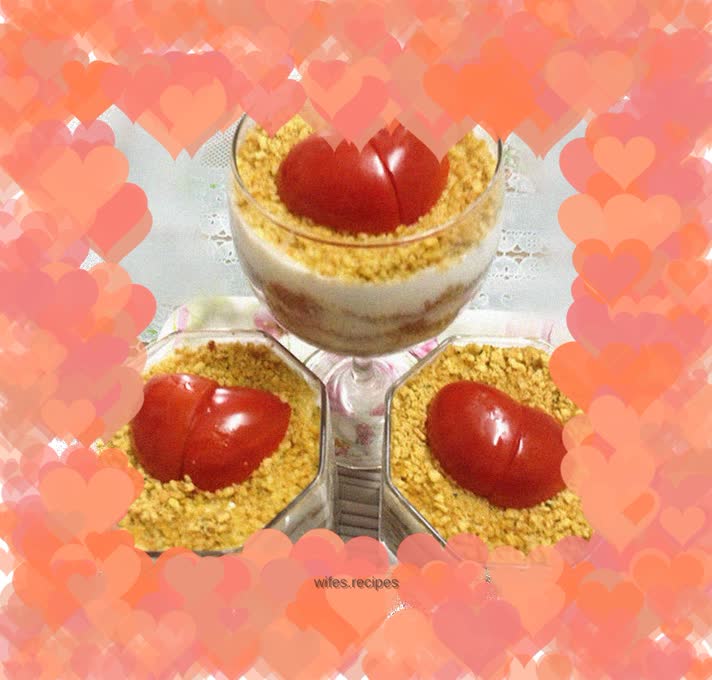
When eating, put a layer of biscuit crumbs on top, cut cherry tomatoes into heart shapes and put them on top for decoration. A cup of breakfast is very filling and nutritious
