Cute Bear Biscuits
Overview
It’s Children’s Day soon. I would like to send this cookie to all the children. I wish you a happy Children’s Day! Moms, hurry up and start masturbating for your little babies! The process is a little bit crazy, but the steps are very detailed. As long as you are careful and patient enough, the finished product is worth having
Tags
Ingredients
Steps
-
Soften butter at room temperature and add powdered sugar

-
Beat evenly with a whisk

-
Sift in the flour

-
Knead it with your hands and knead it into bread crumbs

-
Knead until slightly moist and add egg liquid

-
Knead the dough into a smooth dough and divide it into two parts, one part is 130g and the other part is 115g

-
Add 5 grams of cocoa powder to 115 grams of dough and knead it into cocoa dough

-
Obtain two-color dough

-
Divide the white dough into two 25g small doughs and one 80g large dough. Divide the cocoa dough into two 8g small doughs and one 104g large dough

-
Take a 25g piece of white dough and roll it into a 17cm round strip, wrap it in plastic wrap and put it in the refrigerator for 20 minutes

-
Use 104 grams of cocoa dough and roll it into a 17 cm rectangular sheet

-
It feels like the cocoa dough sheet is rolled out wide, but in fact it only needs to be wrapped around the long white strip. Then I fold the cocoa dough sheet in half and apply a thin layer of egg wash as an adhesive, and place the white strip in the middle of the cocoa dough sheet (the width is just enough to wrap it, so that the bear’s face will not be distorted)

-
Wrap in plastic wrap and place in the refrigerator for 20 minutes

-
Roll the remaining 25g of white dough into a 17cm long strip, and roll each of the two 8g cocoa dough into a 17cm long strip

-
After taking out the frozen cocoa strips, apply a layer of egg liquid in the middle with the seal facing up and put 25 grams of the rolled white strips on top. Then put 8 grams of small strips on each side of the white strips. Wrap it with plastic wrap and put it in the refrigerator for 20 minutes

-
Roll the remaining large white dough into a 17 cm wide rectangular sheet (if the dough is too soft and difficult to handle, you can also put it in the refrigerator for a while)

-
Brush a thin layer of egg wash on the rolled white dough sheet, take out the frozen strip and place it in the middle of the white dough sheet

-
Wrap in plastic wrap and freeze for more than half an hour until completely hard

-
After freezing, take it out and cut it into slices of even thickness. The outline of the bear will appear

-
After preheating the oven, bake at 160 degrees for 12 minutes until the edges are slightly brown (adjust according to your own oven temperature)

-
Take out and let cool

-
Dot the bear’s eyes and nose with melted dark chocolate

-
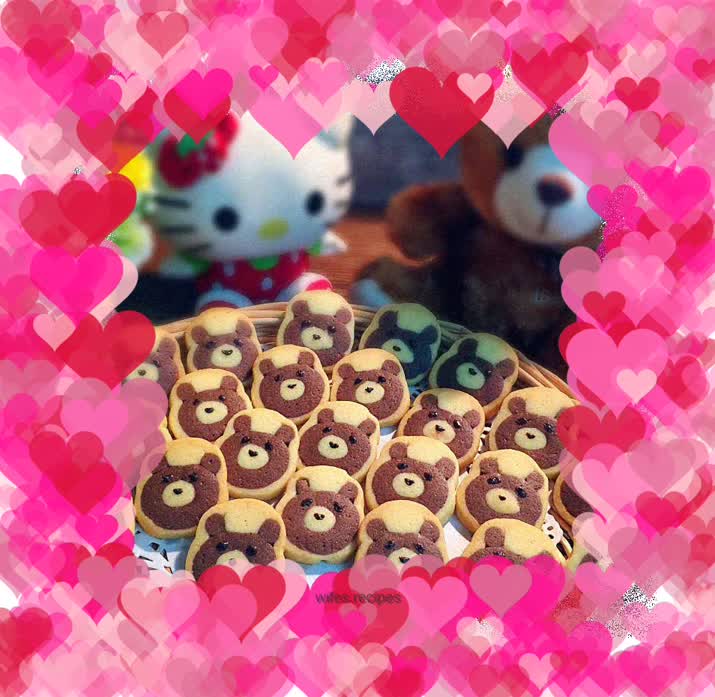
Here comes a cute bear vying for the camera^ _ ^

-
Finished product pictures

-
Finished product pictures
