Fruit cream decorated cake (eight-inch super detailed version)
Overview
For the chiffon cake, please refer to my naked cake recipe, which is introduced in detail earlier. Only the cream whipping and piping parts will be introduced later. This is the first birthday cake I personally made for my dad’s birthday. It was also the first time I made chiffon and buttercream decorations. I didn’t expect it to be a success the first time. Dad said it was very delicious and he couldn't get enough of it. A week after his birthday, I used the remaining half a can of cream to make a naked cake for him. Here are detailed tips on how to cut a mango.
Tags
Ingredients
Steps
-
After the chiffon cake is completely cooled, cut it cross-section in the middle. You can insert an average of 8 toothpicks on the sides where you want to cut, and cut along the teeth to avoid uneven thickness. Of course, if you have a cake slicer or you are familiar with it, you can cut it directly

-
Prepare the fruit, wash the strawberries and cut them into pieces; cut the mango with a cross knife and scoop it out with a spoon (if you don’t know how to cut the mango, please refer to the following steps)

-
Cut the knife from the base of the fruit, close to the core of the mango, and cut to the other side

-
After cutting, use a knife to score a grid and cut to the peel, do not cut through

-
Use a spoon to scoop out the peel

-
After digging, the peel is very clean

-
Add white sugar to the light cream (I used the blue windmill), beat with an electric egg beater until the texture becomes more and more obvious, stir a few times with a manual egg beater, lift the top of the egg beater and there will be an upright peak, which is eight points, which is more suitable for wiping the face. (When lines appear, beat at low speed, otherwise it will be easy to beat). Continue to stir with a hand whisk for a few times until the cream becomes firmer and the cream will form a ball on the whisk head. At this time, it is very thick and suitable for decorating.

-
Now spread the cream on the bottom cake piece. Try to spread the cream evenly. I don’t have a cake spatula, so I use the non-toothed side of a long bread knife

-
After applying it, put the fruit

-
Spread a layer of cream on top of the fruit

-
The cream should cover the fruit

-
Then put the top cake piece on top and continue to spread it evenly

-
The sides are also scraped, which requires some patience. The surface and sides must be scraped flat because the surface needs to be decorated

-
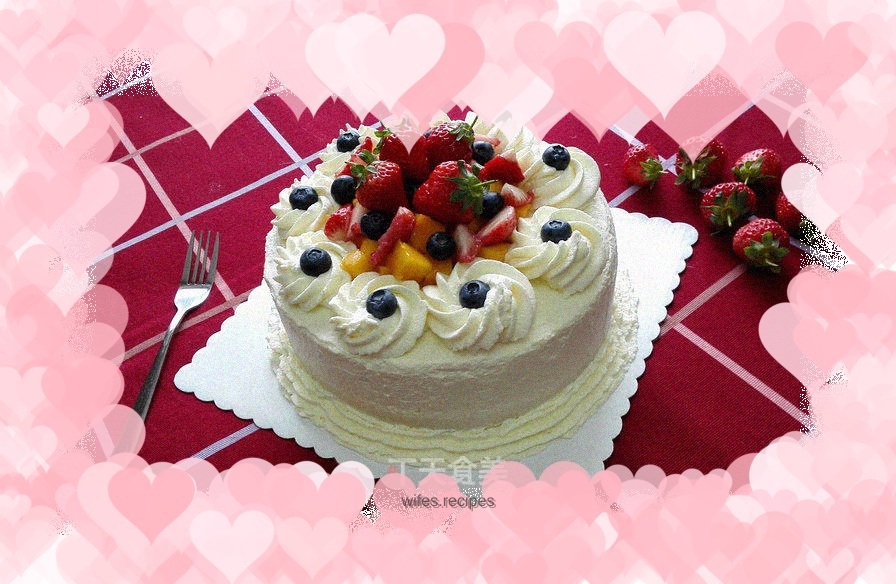
Put the remaining cream into a piping bag, use a large eight-tooth piping nozzle, and squeeze out the cream. You can put the piping bag containing the cream in the freezer for a few minutes before piping, so that the flower shape will be more upright. After squeezing the flowers, place blueberries on the surface and pile fruits in the middle. I piped the remaining cream around the bottom edge of the cake, so that all the cream was used up.

-
Put the remaining cream into a piping bag, use a large eight-tooth piping nozzle, and squeeze out the cream. You can put the piping bag containing the cream in the freezer for a few minutes before piping, so that the flower shape will be more upright. After squeezing the flowers, place blueberries on the surface and pile fruits in the middle. I piped the remaining cream around the bottom edge of the cake, so that all the cream was used up.