Kitty Cat Chocolate Cookies
Overview
This is the biscuit I make the most. Kitty Cat is loved not only by children but also by adults. It looks so cute that I can’t help but want to have it. Today I decorated it with melted chocolate in three colors to make it more lively and cute. I have not only explored and improved the recipe, but I am now very satisfied with it in every aspect. You might as well give it a try!
Tags
Ingredients
Steps
-
Prepare the ingredients

-
kitty cat mold

-
Soften butter at room temperature and whip

-
Add powdered sugar

-
Mix well

-
Add egg liquid in portions

-
Stir until the egg mixture is completely incorporated

-
Sift in the flour

-
Mix well with a spatula, wrap in plastic wrap and refrigerate for one to two hours

-
Take out the dough from the refrigerator, cover it with a layer of plastic wrap and roll it into a large dough piece of suitable thickness

-
Use a mold to carve a cat head shape

-
Use a spatula to transfer to a baking sheet lined with greaseproof paper

-
Arrange everything in the middle, preheat the oven at 160 degrees Celsius and bake on the middle shelf for 15 minutes

-
Remove from the oven and place on a cooling rack to cool

-
Pour boiling water into the cup and put it into a piping bag filled with chocolate and melt it over water

-
First, use melted red chocolate to squeeze out the bow outline of the cat’s head

-
Use melted yellow chocolate to squeeze out the cat's nose

-
Finally, use dark chocolate to squeeze out the cat’s eyes and whiskers, and you’re done

-
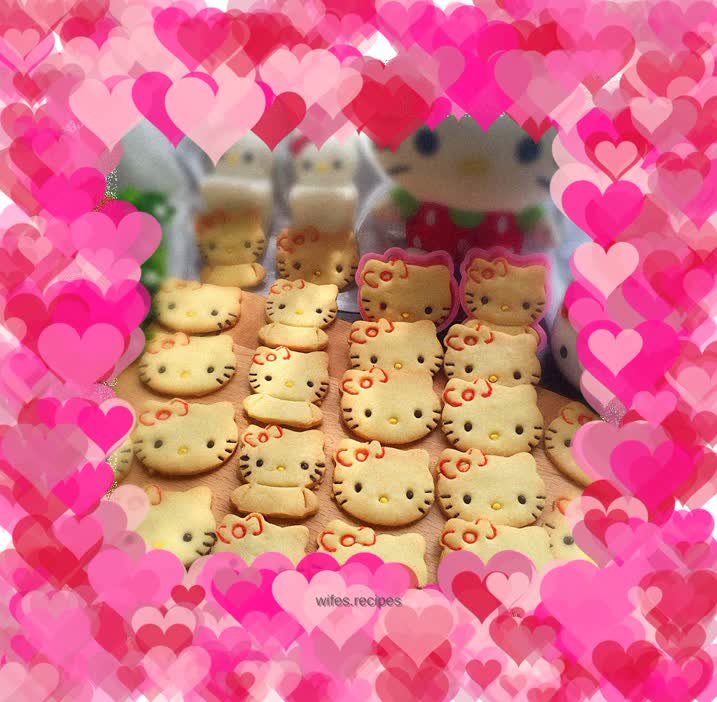
Finished product pictures

-
Finished product pictures
