Small and exquisite car cake
Overview
Having a car of your own is definitely everyone’s wish~
Tags
Ingredients
Steps
-
Cut off some parts on both sides of the round cake, use the middle part as the car body, and the cut-off part as the roof. (Figure 1)

-
After trimming the roof part of the car, the size and curvature should be coordinated with the proportion of the car body. (Figure 2)

-
Cut the car body cake into 2 pieces. (Figure 3)

-
Spread whipped cream on the cake layer under the car body and put an appropriate amount of mango slices on it. (Figure 4)

-
Cover with the top slice of cake and spread buttercream around the body with a spatula. (Figure 5)

-
Put the roof on. (Figure 6)

-
Grease the roof of the car. (Figure 7)

-
Take some buttercream and make it brown, and the other part the original color, put them into piping bags respectively. (Figure 8)

-
Use a brown piping bag with a wilton1# tip and draw car windows, car lights and license plates on the cake. (Figure 9)

-
Attach the cookie wheel. (Figure 10)

-
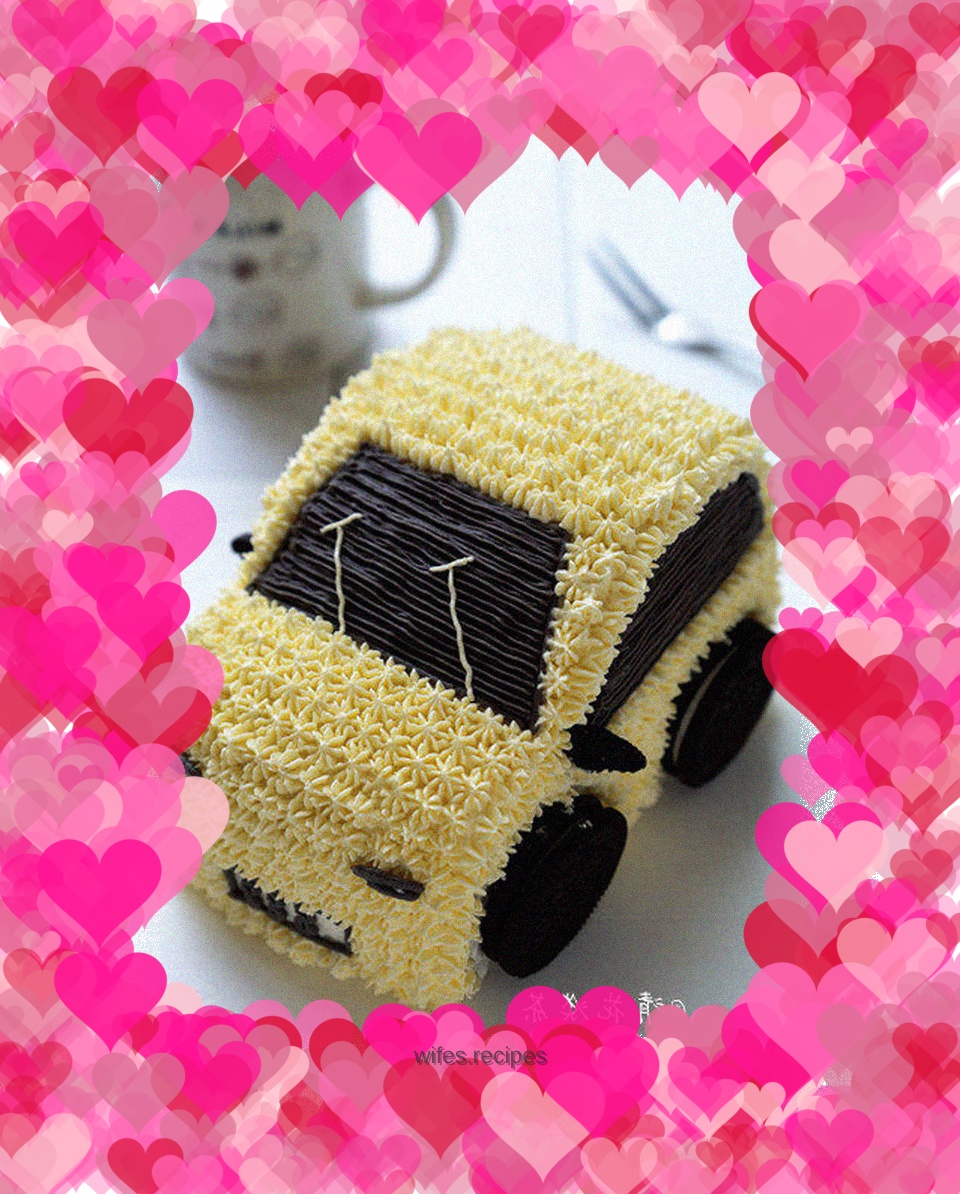
Use the wilton 14# floral nozzle to draw horizontal lines on the brown buttercream and apply it all over the car window. (Figure 11)

-
Use the wilton21# flower nozzle to squeeze the original color buttercream into stars and fill the entire car body. (Picture 12) Take a piece of biscuit, cut off a part, trim it into an inverted rear mirror and install it in the appropriate position.
