【Tomato Recipe】Double-layer Birthday Cake—Dreamy Feeling
Overview
The dreamy and sweet birthday cake looks delicious. Use your hands and make a sweet cake with tomatoes~
Tags
Ingredients
Steps
-
Take out the whipping cream in advance and warm it until it becomes liquid

-
Use an electric beater to beat the egg until it is 80% thick. Place the layering device on both ends of the serrated knife. Adjust the height. Hold the top of the cake with your left hand, hold the handle with your right hand, and slowly cut from one side of the cake

-
After dividing into one layer, adjust the layering device to another height and clamp it on the serrated knife

-
Separate another layer and use the layerer to separate the cake into a very smooth layer.

-
Canned fruits can be filtered out of the canned water in advance

-
Place one piece of cake on the turntable, first spread a layer of cream on the surface

-
Then use the finger cookie nozzle to squeeze a circle around the edge of the cake to ensure that the cake will have a uniform height when placed on the cake slices

-
Then put mixed fruits in the circle

-
Cover with a piece of cake and continue repeating the above steps

-
Until the last piece of cake is covered

-
Take an appropriate amount of new cream, add a little bit of blue coloring, and whip until it is 80% hairy

-
Pile a thick layer of whipped cream on the surface first

-
Then use a decorating knife, turn the turntable left and right, place the decorating knife at the 3 o'clock position of the cake with your right hand, do not let the tip of the knife pass through the center of the cake, and gently smooth the cake

-
Then hold the decorating knife perpendicular to the cake, apply a thick layer to the sides, then place the decorating knife at the 11 o'clock position of the cake, with the tip of the knife 0.2 cm away from the turntable, gently turn the turntable with your left hand, and smooth the sides

-
.Use a decorating knife to move the smoothed cake onto the cake tray, then place one of the top 8-inch cake pieces in the center of the cake

-
The remaining cakes are stacked layer by layer, and the center is filled with cream

-
Then use a decorating knife to the turntable and smooth the cake according to the above method

-
Spread a layer of cream on the piece of cake just now

-
Then spread the 8-inch cake in the previous step and use a decorating knife to gently move it onto this piece of cake

-
Use cream to create any color you like

-
Then use a cookie tip to pipe a piece of blue shell flower on the bottom of the cake

-
Then use other colors to form a circle of shell patterns

-
.Then use a cookie tip to squeeze little stars on the top of the cake

-
Combined to form a rainbow

-
Then use the finger biscuit mouth to fill with white cream, and add white clouds to both ends of the painting

-
Next, use finger cookie tips and cookie tips to decorate the sides and surface of the cake

-
Finally, use the writing nozzle to write Happy Birthday

-
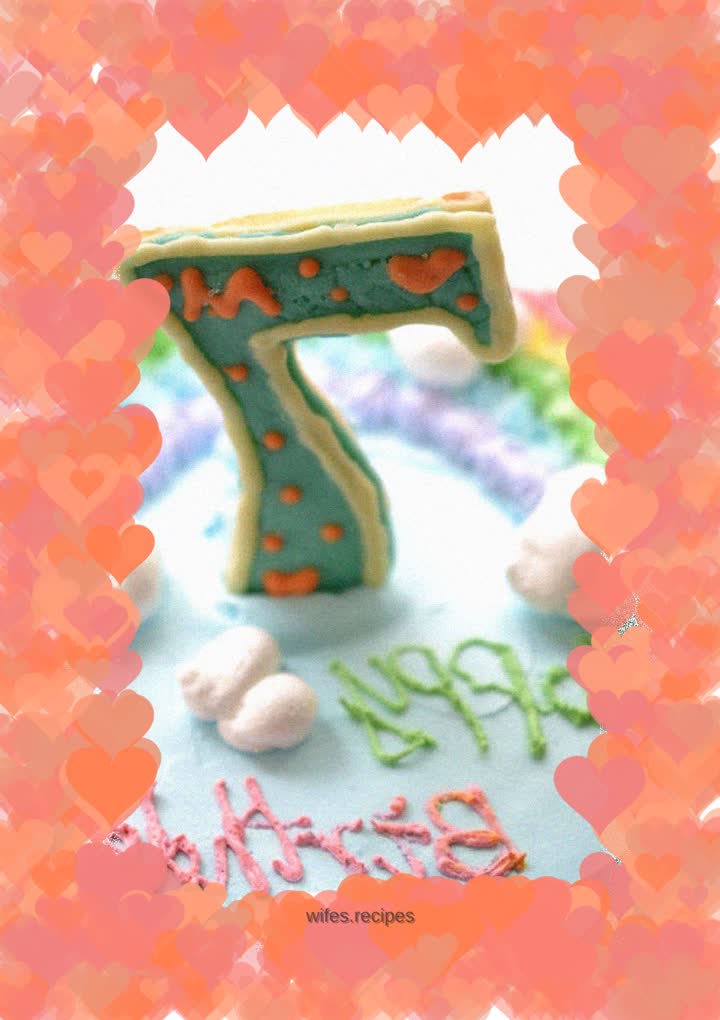
Because it was the 7th anniversary, I made a number 7 using butter cookies, painted the pattern on the surface with a chocolate pen, and finally decorated it on the cake. A DIY birthday cake was ready
