Bread machine version of mung bean filling
Overview
I love mung bean stuffing very much, but frying mung bean stuffing takes a lot of time every time, and my wrists are sore when frying. Sometimes you want to eat but don’t want to put in the effort, so just skip it. I have always wanted to buy a bread machine with a stir-fry function and am waiting to try it out. However, I have tried many bread machines and have not been lucky enough to get one. I have no choice but to make one myself, haha! I recently laid off my old bread machine and replaced it with a new one, which has a stir-fry function, so I let the bread machine do the stir-fry work. Haha, it is really easy now, and I can eat the bean paste filling easily. The finished product picture is also the most natural presentation this time, with no modeling and pure mung bean filling in its natural state. This stuffing is also delicious when eaten directly, and it is also very useful for making mung bean crisps, or bread.
Tags
Ingredients
Steps
-
Soak the mung beans in water for half a day in advance, put them into the pressure cooker, and add water that is basically the same as the mung beans

-
Then pressurize the steam and press it for 5 minutes, then let it naturally decompress and deflate

-
You can also grind the cooked mung beans in a food processor.

-
This time I wanted to use some mung bean filling that was not very crushed, so I crushed it directly with a spoon. It is also easy to crush the beans pressed out of the pressure cooker while they are still hot.

-
Pour the crushed mung beans into the bread bucket, mix and add the crushed mung beans, turn on the automatic stir-fry function, and stir-fry for 20 minutes

-
Add sugar and continue to stir-fry for 10 minutes,

-
Add softened butter and continue to stir-fry

-
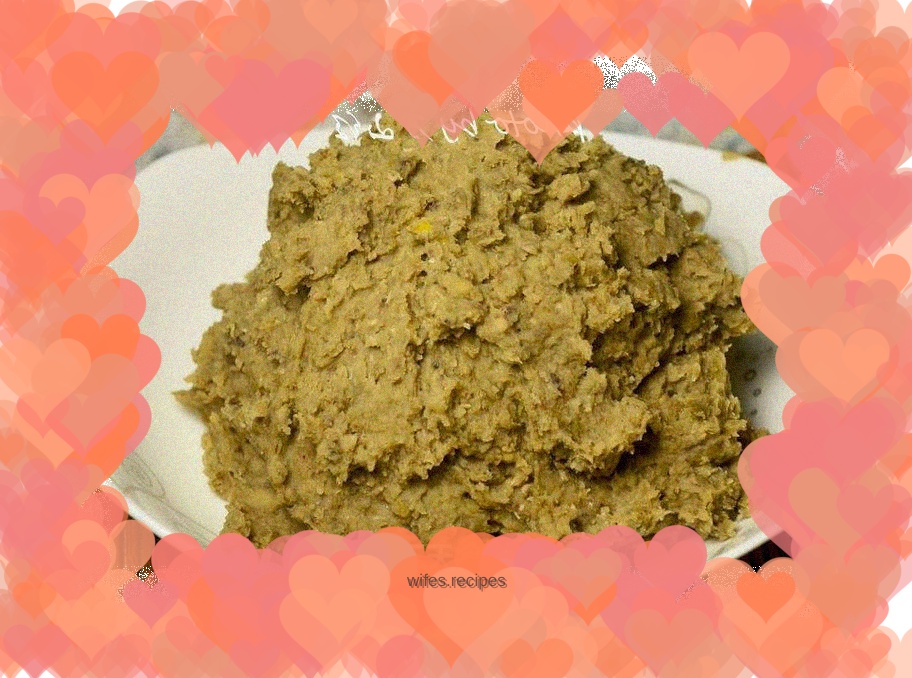
Stir-fry for about 10 minutes, and the bean paste filling is ready. I scooped out a spoonful and ate it. It was delicious. The key is that it saves effort. Hey, it's not worth the money.
