Snowman Decorated Cake
Overview
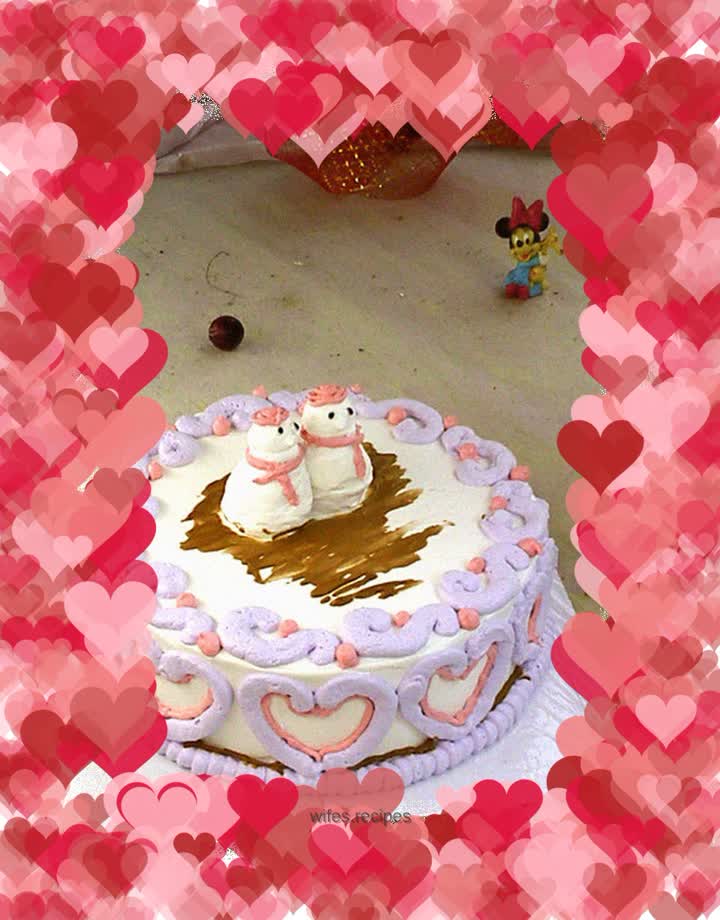
I originally wanted to use a snowman cake to practice the change of the round mouth. However, after adjusting the colors, I felt more and more disappointed, and finally ended up hastily. Because the little bit of cream for coloring is held in the hand, it will soon be affected by the temperature of the palm of the hand, and it will lose its original firmness when squeezed out. The further you go, the more frustrating it gets. The original plan was not to have two snowmen, but then I saw the solitary white snowdrift, which seemed lonely and lonely, so I decided to add another snowman. At least, the place would not look too empty. After making the body and head, I found that I actually didn’t have much idea about the snowman, only some vague impressions from childhood animations. I was temporarily searching my brain and trying to think of what the snowman should look like. Finally, put on a hat and scarf and call it a day. Paint the ground with brown – are there any green leaves in winter?
Tags
Ingredients
Steps
-
Materials

-
Smooth the top of the cake and set aside

-
Whip cream and sugar into peaks

-
Take appropriate amount and apply on face

-
Smooth the top and sides

-
Mix lavender cream and use a round nozzle to squeeze out patterns on the bottom edge

-
Extrude a heart shape on the side

-
Extrude an S shape on the top edge

-
Use white butter to make two snowmen in the middle

-
Use a thin pasting bag to dot the eyes and pull out the pointed nose

-
Use black pigment to blacken the eyes, mix in red cream, and use a fine pastry bag to squeeze out the hat

-
Wear a red scarf around your neck

-
Continue to use red to extrude red dots on both sides of the S-shape on the top edge

-
On the side, outline the inside of the heart shape with a thin red line

-
Mix brown butter and extrude random lines on the open space around the snowman

-
smooth

-
Finally, use a brown line to outline the bottom edge to complete
