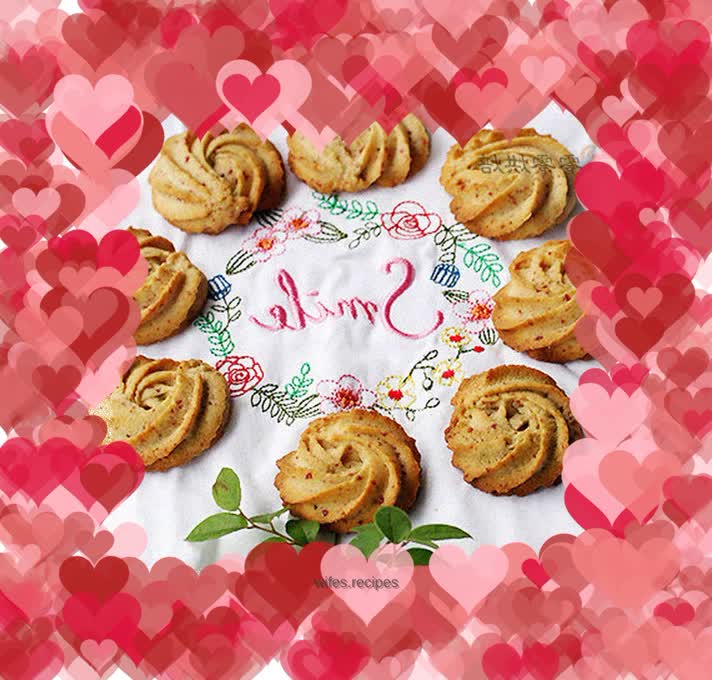
Flower Cranberry Cookies
Overview
Friends who have read my recipes must know that I have published a recipe for flower cookies a long time ago, which also includes cranberry cookies, but the recipe for cookies with cranberries is only briefly mentioned. There is actually a reason for sharing it this time. The last recipe is more suitable for making in winter, but if it is not refrigerated in the summer, the shape will be worse. I have used this recipe many times this time and it is really good, and after the improvement, the cranberries will not affect the shape of the finished product by blocking the flower mouth. Here are some frequently asked questions about cookies: Regarding squeezing cookies: Cookie batter is inherently thicker, and squeezing it is definitely not as easy as cakes. However, if your cookies cannot be squeezed at all, you need to mix more. If the edge distance is too large when squeezing, you also need to mix more. Regarding the shape: There are two points for the success of the shape. First, it needs to be formed at once when squeezing, without stopping in the middle. Second, the oven must be preheated in advance. Only after the temperature has completely risen, can the biscuits be placed in and set at high temperature. Regarding tools: Do not use disposable piping bags for piping cookies, as they are easy to break. Silicone ones are easier to use. If you want a good piping nozzle, don’t choose the smallest one. I use a medium-sized, 2D6-tooth nozzle. If you don’t add cranberries, you can use 120 grams of butter
Tags
Ingredients
Steps
-
Cut 120 grams of butter into small pieces and let it soften at room temperature. Melt another 10 grams of butter with insulated water. Take the eggs out of the refrigerator and beat them up for later use. Soak the dried cranberries in rum for 10 minutes. The rum will be absorbed by the soak and will not stick to the blade when beaten. If rum is not used, honey water can be used instead. The rum soaked in rum will be more fragrant

-
Squeeze the soaked dried cranberries and put them into a blender to beat. Try to beat them as finely as possible so that they will not clog the mouth when squeezing. They will be loose at first and will form into small lumps after a while. Then add 10 grams of melted butter and beat for another 15 seconds until the butter is completely absorbed by the cranberries

-
Pour the beaten cranberry puree out and set aside (I use a handheld mixer, generally any machine with a mixing function is acceptable)

-
After 120 grams of butter is softened, add powdered sugar. The softened butter can be inserted with a finger

-
Use the whisk head of an electric mixer to manually mix the butter and powdered sugar until more than half of the powdered sugar is coated in the butter, so that the powdered sugar will not splash out when beating

-
Then turn on the electric mixer and beat the butter until it becomes a paste

-
Add the egg liquid in batches, beat each time until the egg liquid and butter are completely mixed before adding again. Generally, three times is enough. The temperature of the egg liquid cannot be too low, so eggs that have been frozen in the refrigerator should be taken out and warmed in advance. The egg liquid can be at room temperature

-
The finished state is as shown in the picture, the color will be warmer and yellowish

-
Then sift the low-gluten flour into a basin and add cranberry puree

-
Mix thoroughly with a rubber spatula

-
After mixing, put it into a piping bag equipped with a piping nozzle. Squeeze a little first and then put it in the basin to see if the extruded pattern is smooth. If there are too many jagged teeth, you need to mix it thoroughly before proceeding. The 2D6-tooth flower mouth is used here

-
Extrude the pattern on a baking sheet lined with greaseproof paper. When extruding this shape, it is a circular extrusion method. You can use your right hand as the main force and your left hand as a supplement. When extruding, just draw a circle while extruding. The flower shape will be beautiful in one go

-
This shape is extruded vertically. When extruding, just slowly pull out the decorating nozzle vertically upwards.

-
After squeezing, place in the preheated oven at 200 degrees and 180 degrees. Bake on the middle layer for 10 minutes, then turn to the upper layer and bake for 3 minutes. Take it out. It will vary depending on the actual size of the extruded biscuits and the temperature of the oven. It is generally recommended to reduce the baking time by two or three minutes. After the end, observe and add a few minutes as needed. Freshly baked biscuits are easy to break, just let them cool down. If you can’t finish them on the same day, they must be sealed and stored.
