Chicken roasted fruit
Overview
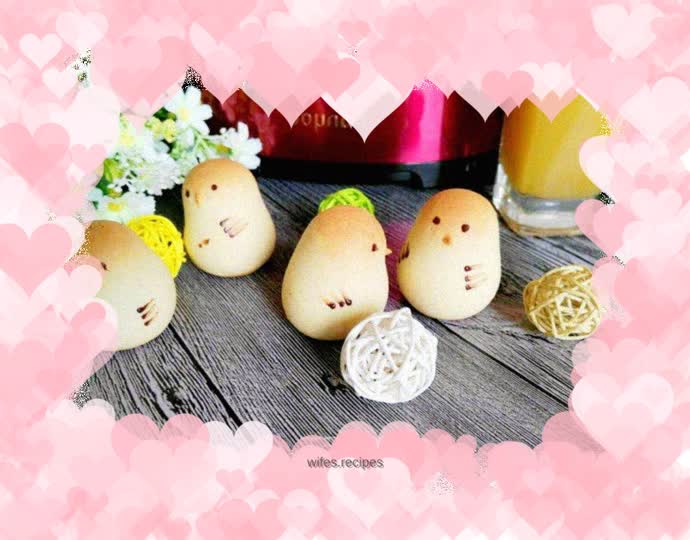
Do you find this cute little thing adorable?
Tags
Ingredients
Steps
-
First put all the wet ingredients in a bowl and mix well.

-
Then sift in the flour and baking powder.

-
Knead into a ball, cover with plastic wrap and refrigerate for half an hour.

-
When refrigerating, we divide the bean paste filling into 20 grams each and roll it into balls for later use. After half an hour, take out the dough and divide it into about 20 grams each.

-
Roll into a ball, flatten, and fill with fillings.

-
Roll it into an oval shape, use the tiger's mouth to separate two semicircles, use scissors to cut a small point on the face, and use your hands to arrange it into a pointed mouth.

-
Make a pumpkin shape, roll it into a round shape and flatten it, use a toothpick to make an impression, make it deeper because it will expand when baked.

-
It can also be made into many shapes. You can directly roll it into a circle and draw emoticons on it, roll it into an oval shape, and cut two ears to make a bunny!

-
When shaping, you can preheat the oven, 150 degrees, middle rack, and bake for 25 minutes. Every oven has a different temperament, so pay attention to the coloring and be sure not to overcook it and burn it!

-
The fruit after it comes out of the oven is smooth, very plump and extremely cute. So it doesn’t matter if it’s a little rough before entering the furnace, it will be fine after it expands. After the chocolate melts, dip a toothpick in it and start drawing emoticons. You can also melt the chocolate in a piping bag and cut out small openings to draw!
