Yogurt Cake – Pressure Cooker Version
Overview
Speaking of cakes, I always felt that it was so troublesome and far away from me. When you start doing it, you will find that it is very simple. You can bake it in the oven, steam it in a steamer, or use a rice cooker and pressure cooker. The cake with yogurt has a more delicate texture and tastes great. Both parents said it was delicious😋, Dabao said it was better than the cake they bought😋, and Erbao also ate a big piece.
Tags
Ingredients
Steps
-
Materials are ready.

-
To separate the egg yolk and egg white, the basin in which the egg white is placed must be clean and dry, free of oil, water and egg yolk, otherwise it will be difficult to beat and defoaming will be easy. (I accidentally got a little egg yolk here)

-
When the egg whites form big bubbles, pour in 1/3 of the sugar and continue beating in one direction. (If you don’t have an egg beater, you can add a few grains of salt to the egg whites and put them in the refrigerator before beating again, which will make them beat better)

-
When the beating is smoother, add 1/3 more sugar. Beating egg whites is a technical job. (Especially if you don’t have an electric egg beater, you must be patient)

-
Beat until it forms a small peak, add the last 1/3 of the sugar, and continue beating.

-
Whip it until the chopsticks can stand upright and turn it upside down without spilling. It's perfect.

-
Pour the yogurt into the egg yolks and stir evenly.

-
Add flour and continue mixing.

-
Stir until there are no flour particles and everything is mixed evenly.

-
Pour the meringue into the egg yolks in batches and stir with a spatula. Be sure not to stir, otherwise it will defoam easily.

-
Pour the prepared batter into the pot of the pressure cooker (brush a layer of corn oil on the bottom of the pot to make it easier to release the mold), and shake it gently to get rid of the air bubbles inside.

-
Sprinkle the raisins and press the cake button. When the time is up, open the pan and use a wooden spatula to move the bottom of the cake slightly.

-
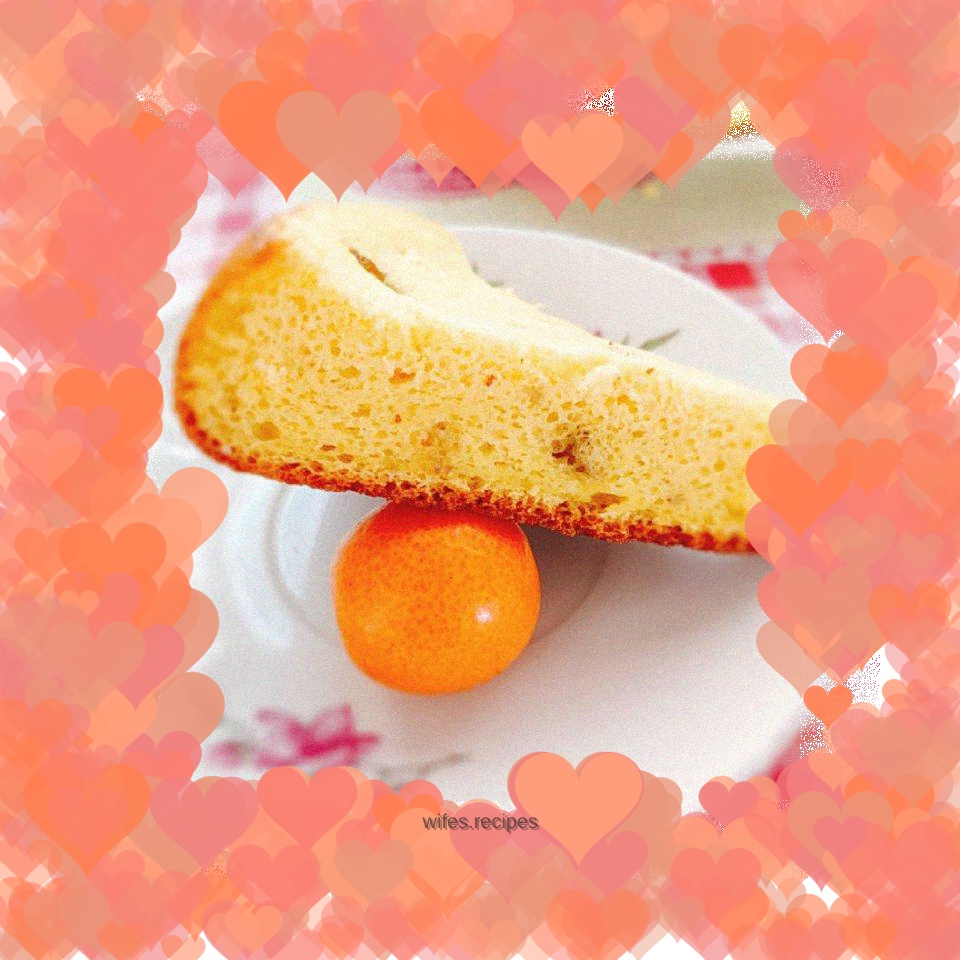
Place in a plate and cut into pieces.

-
Delicious😋.
