Homemade plasticine
Overview
Plasticine is the favorite of almost all children in childhood. Children like to play with plasticine. We also know that playing with plasticine has many benefits for children. However, plasticine is a consumable product and the price is not cheap each time it is purchased. It is also unknown whether the chemicals used in it have any impact on the body. For a few dozen dollars, a child can knead it into a ball of mixed-colored black mud in minutes. Today I will introduce to you a magical homemade plasticine recipe. The formula is safe and simple, and the price is also cheap. Mothers no longer have to worry about naughty children destroying it~
Tags
Ingredients
Steps
-
Take a family photo of the ingredients. Tartar powder ensures that the water is not lost, cooking oil makes the dough non-sticky, and a large amount of salt acts as a preservative. The basic ingredients are indispensable. 🌻Tips: ①. My coloring is edible Americolor. I bought it to color cakes before, but I haven’t used it twice. ②. Moms who don’t have pigment, have you seen the water in the formula? Replace the water with colored vegetable juice, divide the dough into pieces when you first start mixing, and you can still make it. ③. Tartar powder is a safe food additive that helps the cake shop to beat the protein and neutralize the alkalinity of the protein when making cakes. Ma Yun’s house sells it for 5 yuan and 50 grams.

-
Put all the ingredients in a bowl and mix evenly.

-
Stir into dough.

-
Cover with plastic wrap and steam in cold water for 15 minutes.

-
Take it out and let it cool. Don't tear off the plastic wrap yet, as it dries quickly if you do.

-
Add coloring when it is warm. You can take one dough and add one coloring. The remaining unused dough continues to be covered with plastic wrap. 🌻Tips: The dough was a little dry this time, so I added 20 grams of water in the recipe. You don’t need to add more when making it.

-
Knead evenly with your elbows, which is where the hands and arms join. The kneading force here is strong.

-
Add coloring to the dough one by one and knead evenly.

-
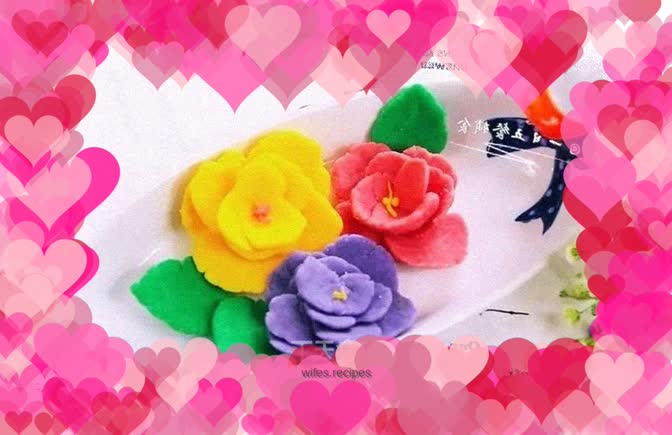
It’s ready for shaping. Of course it’s good if it looks like it, but it doesn’t matter if it doesn’t look like it. What’s important is that the parents and children accompany each other and the children have fun, and guide the children to use their imagination. 🌻Tips: I am handicapped, so making these small objects and crafts are terrible. These little flowers are not bad, right? It definitely wasn't me.

-
The salt content is relatively high, so remember to wash your hands after playing. After playing, you can continue to play. Each time you play, put each color in a plastic bag and tie the mouth. As long as it is not exposed to air, it will not dry out. It can be stored at room temperature, no need to put it in the refrigerator. You can play with it for 2 months once you make it. If the child rubs all the colors together, it's a different matter.
