Christmas cookies
Overview
Biscuits are a well-known snack. They are not only easy to carry and store, but also convenient to eat. Christmas is coming soon, and it is a good choice for children and gifts.
Tags
Ingredients
Steps
-
Cookie Ingredients: Prepare ingredients.

-
After the butter is melted in water, add the powdered sugar. First stir it with a spatula, and then beat it with a whisk. Otherwise, the powdered sugar will fly away.

-
Add powdered sugar a little at a time until absorbed.

-
Add egg mixture in small amounts and beat slowly.

-
After everything is mixed evenly.

-
Add the base flour and mix evenly.

-
Knead into a ball and let rest for 20 minutes.

-
Roll it into a uniform sheet and place it in the freezer for 10-20 minutes.

-
Patterns can be drawn from the computer.

-
After everything is drawn.

-
Take the cut out mold out of the freezer and place it on the rolled out cookie sheet, then slowly carve it out with a knife.

-
After carving out each model, use a toothpick to tidy up the edges.

-
After putting it in the oven, bake it at 100 degrees for 10 minutes until the biscuit mold is slightly brown, then take it out.

-
Ingredients for frosting: Prepare ingredients: egg whites, powdered sugar, dark chocolate, lemon, and coloring.

-
Beat the egg whites, add powdered sugar in small amounts and several times, and beat. The beat should not be too thick, because it is used to color the base of the biscuits. Finally, add a few drops of lemon juice.

-
Divide the egg whites into four colors and put them into four small bowls.

-
Purple, blue, red, green, four colors, evenly modulated.

-
Choose a cookie mold and paint it with the pattern you want.

-
Use a toothpick to expand to the desired shape.

-
The pattern is ready.

-
Some people need to paint the pattern a second time. It is best to wait until the first painting is completely dry before proceeding to the next step.

-
Make the patterns one by one. Note: I used toothpicks and chopsticks to draw the patterns on it. I didn’t use icing because the pattern was too small and it was difficult to use icing.

-
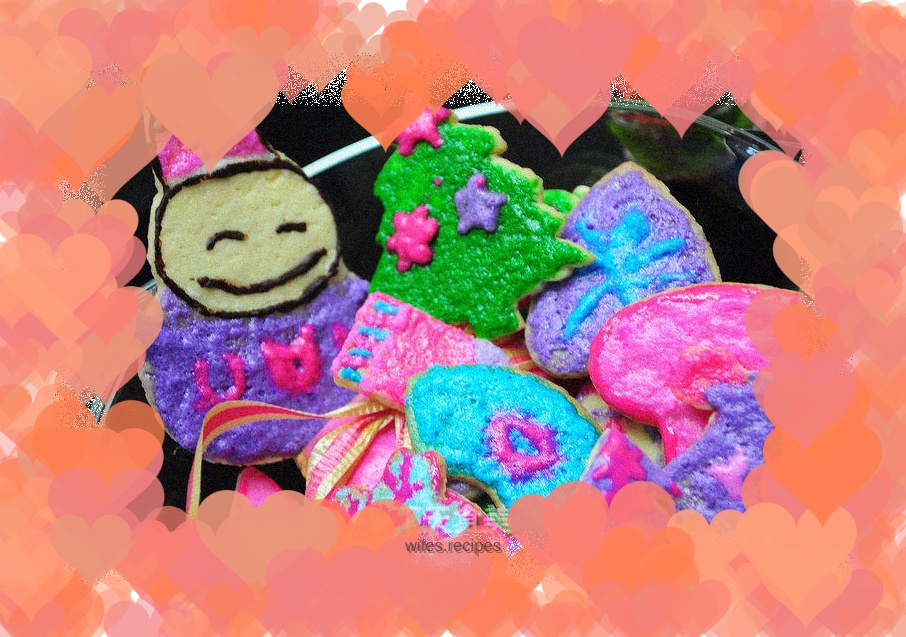
Okay, it's all done.
