Light cheesecake
Overview
In Nuomi's words, cheesecake is the king of cakes and her favorite. For her, I started learning to make this cake that even I can’t put down now. Soft and fragrant, delicate and moist, it melts in your mouth. Whether it’s the visuals or the taste, it will leave you wanting more. Even our little hamster never gets tired of eating it! When I made it for the first time, I searched for recipes in Gourmet World and found Tao Ma. Her writing was very detailed. With her experience, I succeeded the first time. The praise from my family members also increased my confidence. However, due to different techniques and oven temperatures, the results will vary. In short, practice is the most important. Find your own way.
Tags
Ingredients
Steps
-
Prepare all ingredients

-
Pour hot water into a basin, then add cream cheese and milk into another clean stainless steel basin that is oil-free and water-free, and stir evenly without any particles

-
Separate the egg yolks and egg whites, and place the egg whites in another clean, oil-free and water-free stainless steel basin, set aside. Add the egg yolks one by one to the mixed cream cheese, add one in and mix well, then add the second egg yolk until all is added and mix well.

-
Add the butter and stir well until the butter is completely melted

-
Remove the stainless steel basin of cheese paste from the water basin, add sifted low-gluten flour, and mix evenly

-
Add sugar to the egg whites

-
Use a whisk to beat at high speed and then at low speed until wet peaks form

-
Beat until soft and drooping hooks appear when you lift the whisk, and the wet egg whites are ready. Don't beat it too hard, otherwise the baked cake will crack easily.

-
Pour one third of the egg white batter into the batter

-
Stir evenly, do not stir, be sure to stir up and down, hold the edge of the basin with your left hand, and turn to the left while stirring until no more protein paste is visible

-
Pour all the remaining egg white batter into the batter and mix evenly

-
This is the mixed batter

-
At this time, insert the baking pan into the bottom shelf of the oven, pour boiling water into the baking pan, fill two-thirds of the baking pan, and preheat at 180 degrees for 10 minutes

-
Pour a little corn oil into the 6-inch mold and use a brush to brush the bottom and edges evenly

-
Stick grease paper on the mold so that the cake will not shrink easily and it will be easier to remove from the mold after the cake cools

-
Pour the batter into two 6-inch molds respectively. If you pour the batter into one mold, the cake will be too high and it will not look good when cut out. However, my oven fits two 6-inch molds. Place the molds on the table and shake them to remove the big bubbles, and prepare to put them in the oven

-
Put it in the oven and bake for about 25 minutes. After the cake is colored, cover it with tin foil to prevent it from getting darker. "The specific time depends on your own oven. Be sure to keep an eye on the oven and pay attention to the coloring." Then adjust the upper and lower heat to 140 degrees and continue baking for 40 minutes. Don't take it out immediately after baking, put it in the oven for 30 minutes.

-
After it comes out of the oven, just push the bottom plate with your hand and it will come out of the mold, which is very convenient. When eating, tear off the oil paper.

-
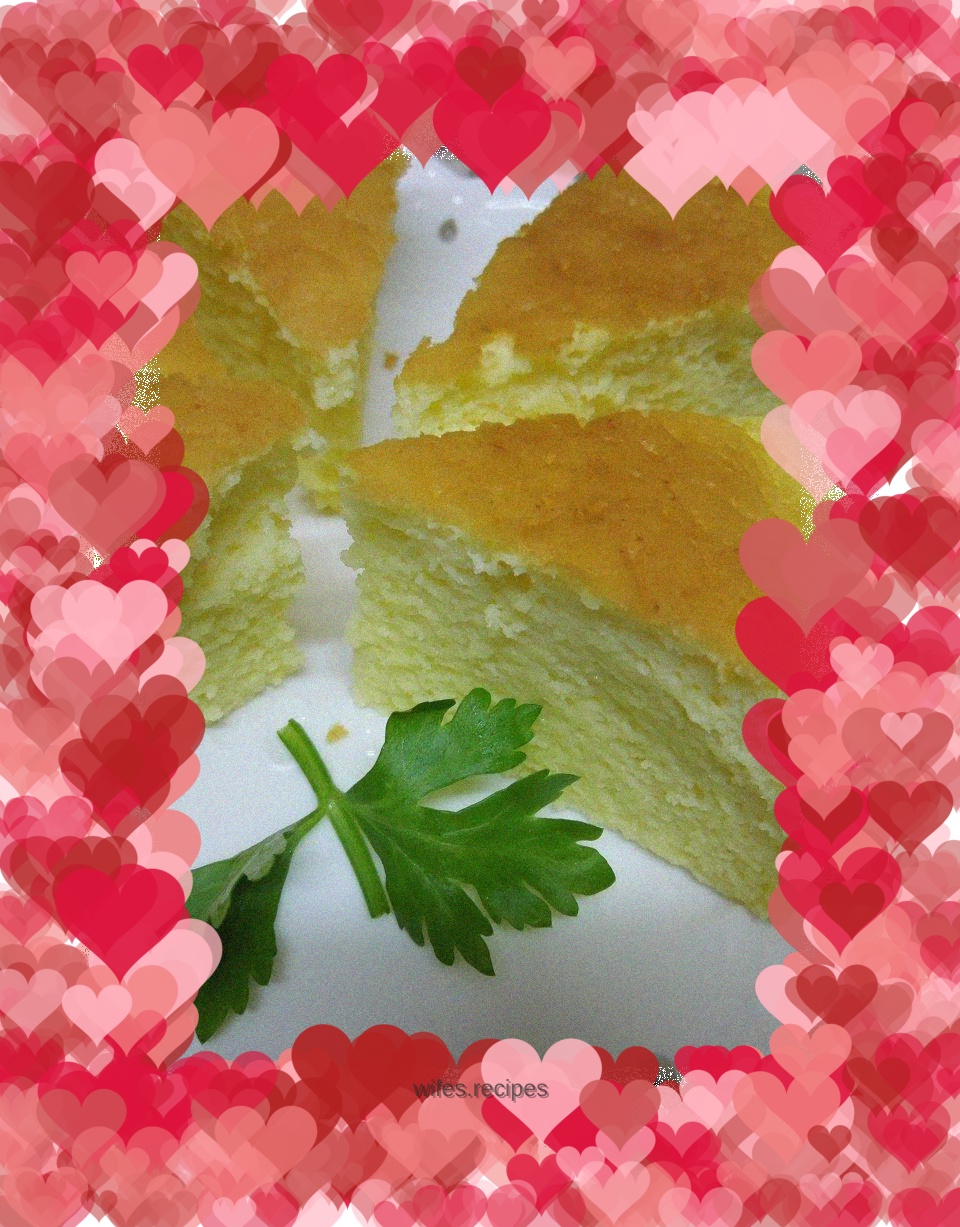
Appreciation of the finished product

-
Appreciation of the finished product (this is the finished product after being reversed and taken off the plate)

-
It’s delicious. Have a piece while it’s hot. It’s so fragrant (it’s even better with a cup of coffee in the afternoon☕)

-
You can never tire of eating it (especially suitable for the elderly and children). Keep it in the refrigerator in the summer to make it taste better. However, it is soft when hot. My glutinous rice likes to be eaten hot
