The simplest chiffon cake
Overview
On the day off, make a chiffon for your son to eat.
Tags
Ingredients
Steps
-
Weigh the materials, respectively 50g of oil

-
50g water (no milk, I used Guozhen)

-
80g low-gluten flour (don’t have it at home, use 60g wheat core flour and add 20g starch)

-
Sugar 80.

-
eggs, separate egg yolk and egg white. Pay special attention to the container where the egg whites are placed so that there is no water or oil in it. Add 20g sugar into the egg yolks and mix well.

-
Beat the egg yolks until they become lighter in color and thicker in volume.

-
Add 50g of oil and continue beating until even.

-
Add 50g of water and mix evenly.

-
Sift the flour.

-
Sifting is to reduce flour clumping.

-
Use a rubber spatula to mix evenly without any lumps of flour. Be sure not to stir, especially in one direction, to prevent the flour from clumping.

-
Rinse the egg beater, wipe dry, and start beating egg whites.

-
When the egg whites show fine roe-like bubbles, add 20g of sugar and continue stirring.

-
The egg whites are in the form of fine foam. When the whisk can be lifted, add 20g of sugar again and continue mixing.

-
Lift the egg beater to form a curved sharp corner, forming wet foam. At this time, add the last 20g of sugar and continue stirring.

-
When ripples appear on the surface of the egg white foam, it is almost ready.

-
At this time, lift the egg beater and the sharp corners can be upright without bending. This is dry foaming, and the legendary "egg creation" is completed. At this time, insert a chopstick to keep it upright.

-
Soak one-third of the egg white, add it to the egg yolk paste and stir. The action is the same as before, cut up and down to mix, do not stir. The purpose of adding egg white to egg yolk batter is to adjust the consistency of the batter so that the concentration of egg white and egg yolk is close to that of egg white. If you pour the egg yolk paste directly into the egg whites, it will not be easy to mix well later.

-
Pour the evenly mixed egg yolk paste into the remaining foamed egg whites and mix evenly. Still remember not to stir, but to stir.

-
Mix well the cake batter. The color is off-white, a little light yellow is fine. Remember to stir evenly and move quickly. If you hesitate, it will easily cause defoaming.

-
Pour the mixed cake batter into an 8-inch removable bottom cake pan. This kind of anode cake mold uses surface friction to make the cake batter "grow", so remember not to grease it.

-
Shake the cake mold vigorously on a flat table several times. The purpose of this is to make the surface of the cake batter smooth, and to shake out the large bubbles inside to avoid cracking during baking.

-
Preheat the oven to 220 degrees for 5 minutes. Then heat up and down to 170 degrees and bake for 60 minutes. Everyone's oven may be different, so you can basically master the temperature and time by doing it a few times. This is what it looks like after 15 minutes of baking, and it has basically risen. Try to avoid opening the door during the baking process, I just want to take pictures.

-
What it looks like after half an hour of baking. If you don't want the color to be too dark, you can cover it with a layer of tin foil at this time. My kids like the top layer to be cooked a bit longer, so it will be crispier, so I didn’t cover it.

-
My magic hexagram. Guess what?

-
Yes, this is a cooling bracket. If you rush to take it out after baking, it will cause shrinkage and collapse. Place the cake mold upside down on a cooling rack to cool naturally.

-
Remove the mold and you're done. There is still some shrinkage, but not serious. If possible, at the beginning of preparing the egg yolk paste, you can add 2g of baking powder and sugar and stir together. When beating egg whites at the same time, adding 2 drops of white vinegar or lemon juice can also help with foaming.

-
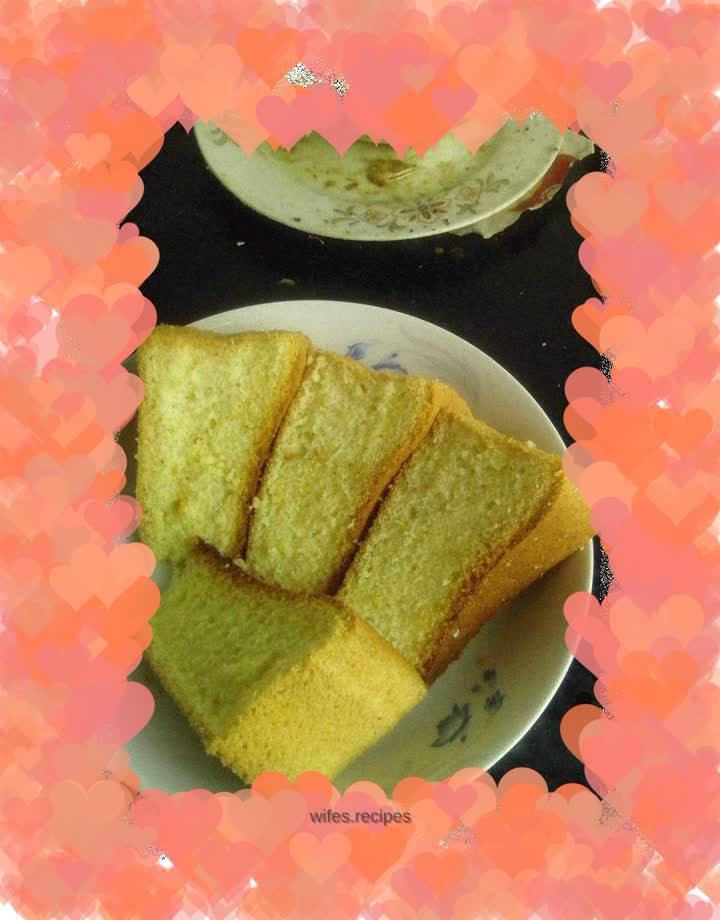
Dessert after the meal~ After getting familiar with it, Chiffon is quite simple, with few ingredients and easy to operate. The important thing is that it is not like some mysterious condiments such as cake oil and stabilizers in bakeries outside.
