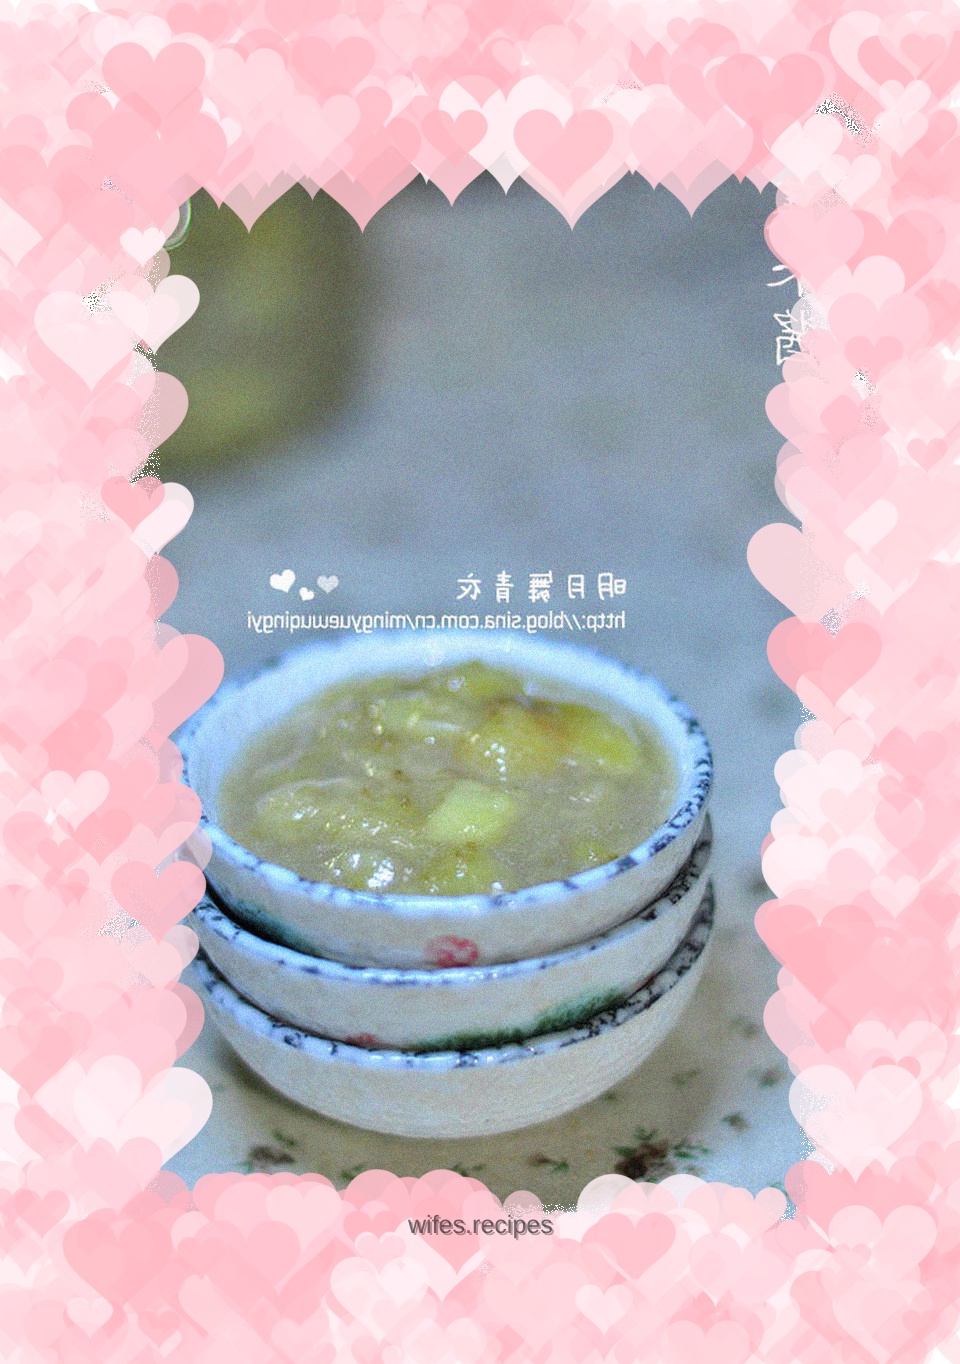
Purely handmade---banana jam
Overview
Bananas are purely a matter of memory. Unlike other fruits, bananas cannot be refrigerated! ! ! Because I was going out, I thought it would be fine if I refrigerated it, so I refrigerated it with the apples, which directly caused the color to turn gray. Even if the banana is wrapped in plastic wrap after being cut, the inner core will still turn black easily. I think if I change to a greener banana and remove all the blackened inner core and whiskers, the color of the jam will be brighter. The second time I was too lazy and didn't remove the black parts or the beard, so I was never quite satisfied with the color. The kind I bought are just ordinary bananas. Bananas are roughly divided into three types: thick and long, thin and medium-long, and short and thick. In terms of taste, thin, medium and long bananas have the best taste, while short and thick bananas (commonly known as Nanyang bananas, also known as plantains) are slightly sour and have low yields. When purchasing, banana peels are considered fresh if they are golden brown. When making jam, you are also very particular about the selection of fruits. Do not choose fruits that are overripe, soft when pinched, or have scars. . . Bananas have high viscosity, which can easily give people the illusion that they have been cooked for a shorter time when the juice dries up. Pay special attention to whether the required sugar boiling temperature has been reached, otherwise it will affect future storage, and the jam will easily become watery. For example, when making jam for the first time, a lot of water came out. . . Bananas are late-ripening fruits. When making jam, be sure to remove any pulp that is injured or overripe and discolored, and pay attention to whether the amount of water is sufficient. You can also add no more than 150ml of water or orange juice.
Tags
Ingredients
Steps
-
Prepare materials. Peel and weigh the bananas.

-
Cut the banana into small cubes and set aside.

-
Slice the green lemon, squeeze the juice and set aside.

-
Mix rock sugar and diced banana.

-
Pour in the lemon juice and mix well.

-
Pour into the pot and add (no more than 150ml) water.

-
Bring to a boil over high heat, then turn to low heat.

-
Boil water in another pot, rinse the jam bottle with cold water, and boil it for 5 minutes to sterilize. Put the bottle cap in the bottle and blanch it quickly. Be careful that the rubber strip on the bottle cap deforms after cooking for a long time, resulting in poor sealing. After cooking, turn it upside down to drain out the water.

-
Pick up bubbles and floating objects on the surface, and stir occasionally while cooking to prevent them from sticking to the bottom of the pot or burning. Cook over low heat for about 20 minutes, then continue cooking until the jam begins to thicken. When the final temperature of jam boiled sugar solidification is 103 degrees, turn off the heat, put it into a jam bottle while it is hot and invert it. Place in the refrigerator after 30 minutes.
