Detailed explanation of the making process of cranberry cookies (non-sweet version) with pictures and text
Overview
I have been involved in baking for many years, but I have never written down the production process in the form of words. After a sudden thought, I published the process of each baking product through Weibo. Sometimes I really feel that people are changing [watching]. A few years ago, I would not be willing to bang on the computer. The environment changes people [ Zhong], first let’s start with making the best cranberry cookies (I am lazy, because cranberry cookies do not need to beat butter and do not need to be piped, these two steps save a lot of effort, cranberry cookies are also the simplest steps, perfect for foodies who can’t wait to eat delicious food). Junzhi's recipe is currently popular on the Internet, and it is overwhelming. But after reading Junzhi's recipe, I felt that it must be too sweet, and in fact, everyone has indeed reported this. I will share my recipe below [smiling proudly]. In fact, all baking recipes are similar, but at a certain point. It’s just a matter of additions and subtractions of the ingredients above. This model is suitable for those who pursue a delicate and elegant fragrance. I think that food is just like this. It doesn’t need strong fragrance and you need to savor it carefully. This is called food. There is too much to talk about. Let’s get to the point. Don’t think that the steps are complicated. In order to describe clearly, I just detailed each step.
Tags
Ingredients
Steps
-
First, cut the butter into small pieces and soften it at room temperature until it can deform with a gentle touch of your finger.

-
Pour the softened butter into the powdered sugar and mix it with a hand mixer for about 5 minutes. It's time to test your arm strength. It's best not to use an electric mixer. The electric mixer can easily beat the butter. This step is to stir the butter thoroughly, not to beat it. This step is very important.

-
Break the eggs into whole egg liquid, pour into the stirred butter in three batches, stir for 1 minute each time before pouring in the next time.

-
Chop the cranberries, because the cranberries you bought are relatively large. After being chopped, the flavor will come out easily during the baking process, and the taste and texture will be better.

-
Add the sliced cranberries to the butter and stir evenly with a rubber spatula.

-
Sift the low-gluten flour. The main function of this step is to filter out the agglomerated flour to avoid clumping and affecting the taste during the baking process.

-
Pour the sifted low-gluten flour into the butter completed in step 4 all at once, and mix evenly with a spatula.

-
Wrap the finished product mixed in step 6 with plastic wrap and trim it to the appropriate size. I trimmed it into a size of 5 cm (length) × 4 (cm) wide. The tool is a plastic ruler to beat and squeeze. There are trimmers sold online, but I feel it is not necessary. The manual process is about the hands-on process. I never get tired of it. I put the corrected finished product into the freezer of the refrigerator for 1 hour. It is frozen, not refrigerated.

-
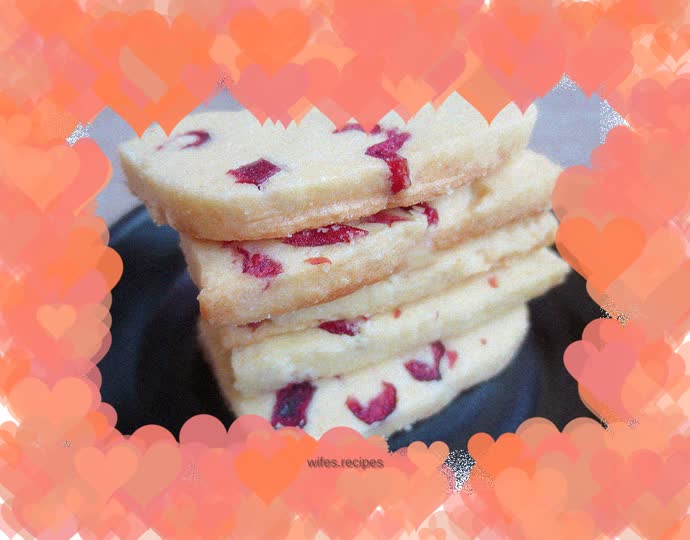
Cut the frozen finished product into a shape close to 1 cm. Do not cut it too thickly so that the thickness can match the baking time and baking temperature of this recipe.

-
Adjust the upper and lower tubes of the oven to 160°C, preheat for 3 minutes, place the cut products into a baking pan, line the baking pan with greaseproof paper or oilproof cloth, and bake for 15 minutes. The temperature of each oven may be different, so in order to understand the temperament of your own oven, it is recommended to monitor it at all times. Look at the color of the cookies inside the oven. Just make sure they don't appear dark and burnt. The baked cookies will be slightly darker than when you put them in. When the time is up, take out the baking sheet and let it cool at room temperature for 20 minutes. Then you can taste the deliciousness you made by yourself.
