Black Beauty Chocolate Mooncake
Overview
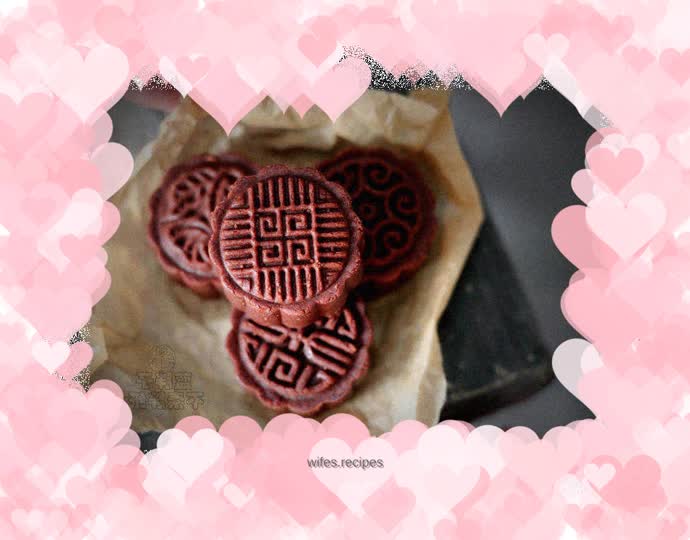
I used my favorite mooncake mold pattern and made my favorite mooncakes. I have an indescribable love for chocolate and always like to try all kinds of chocolate-containing delicacies. I fell in love with this chocolate mooncake after making it once. The slight bitterness of the chocolate and the sweetness of the red bean paste blend seamlessly. Everything is so perfect, as if it was meant to be. The recipe comes from Xiaoting Love Baking.
Tags
Ingredients
Steps
-
Pour the peanut oil into the chocolate sauce and stir evenly with a hand mixer.

-
Sift in the flour and cocoa powder, stir well and make a chocolate mooncake crust.

-
Divide the mooncake skin into 15g portions, roll into balls and set aside.

-
Divide the red bean paste into 35g portions, roll into balls and set aside.

-
Take out the mooncake crust, flatten it, and put the filling in the middle of the crust. Flip over and tuck the skin in so it fits snugly against the filling.

-
Hold the filling with the thumb of one hand, and push the crust upwards with the thumb of the other hand so that it sticks to the filling and slowly climbs up.

-
Finally close it and round it.

-
Wrap all the mooncakes, take out the mooncake mold and insert the flower pieces.

-
Roll the mooncake dough into a cylindrical shape, put it into the mooncake mold, and press it slightly so that it doesn't fall off when transferring.

-
Transfer the mooncake mold and dough to the baking sheet, stand the mooncake mold upright, and press with a little force.

-
Gently lift the mooncake mold and the mooncake will be pressed into shape.

-
All mooncakes are pressed according to this method. (You can start preheating the oven before pressing the mooncakes, setting the upper and lower heat to 200°C).

-
Put all the printed mooncakes and the baking sheet into the preheated oven, set the upper and lower heat to 180°C, set the middle layer, and bake for 15 minutes.

-
Let the prepared mooncakes cool and then seal them. You can only eat them after reheating the oil the next day!

-
No need for liquid or syrup, simple and quick.
