Decorated Cake: Spring
Overview
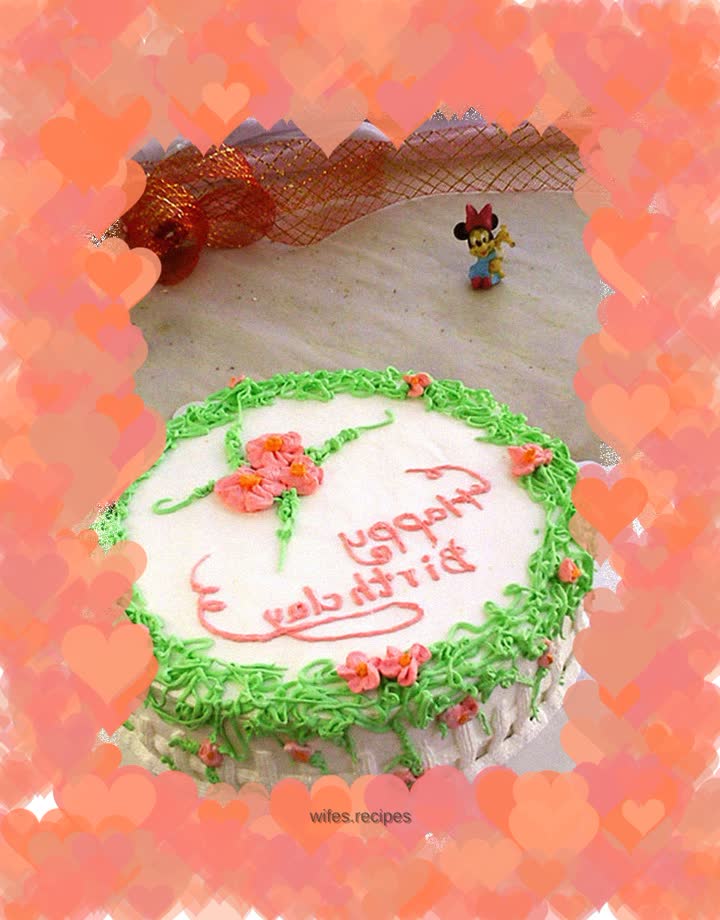
This flat mouth has a flat mouth on one side and sharp teeth on the other. It seems that I have never seen it in the e-books I have browsed. How should it be used? Suddenly I thought of the wooden fence, the spring scenery in the garden, and a branch of red apricot coming out of the wall. How about a spring picture? Although it is still cold as winter. Another 8-inch cake was given away. Will the plan to transplant a 6-inch cake seem too empty? Then I thought: As a rule, don’t I still have to write? Then there won't be much adjustment required. Very good. In fact, I really want to try roses again here, and I have even prepared flower tips. However, the whipping of cream makes people more and more confused. The frosting will look too rough - this phenomenon actually happened with the last cake; the flowers will still collapse. . . . The situation is getting worse and worse, making people feel like they are falling into despair. . . . In the end, I gave up the rose and let the little flower with no name bloom freely in the green grass. . .
Tags
Ingredients
Steps
-
Materials

-
Smooth the top of the cake and cut it into two pieces

-
Add butter to sugar and whip into peaks

-
Place a piece of cake on the turntable and spread it all over with cream

-
Cover with another piece and wipe the surface

-
Smooth the top and sides

-
Use a single-sided flat tooth nozzle to extrude the wooden fence on the side

-
Mix the green buttercream and use a piping bag to pipe out coiled threads on the top edge and side edges

-
Grass is squeezed out from the bottom of the fence

-
Adjust the color red and continue to use the single-sided flat tooth nozzle to squeeze out small flowers on the top surface

-
There are also a few sparsely squeezed flowers on the sides

-
The green round edge is also dotted with some red flowers

-
Use a thin pasting bag to squeeze out green tendrils next to three small flowers

-
Also add rattan whiskers next to the small flowers on the side

-
Change to red and use a fine mounting bag to write in English

-
Make it golden and add stamens in the center of each flower

-
The small flowers on the side are also dotted with stamens, ending
