Homemade cherry jam
Overview
Every year from May to June, there is only a short period of time that is the best season for eating cherries. To lock in the sweet flavor of this fruit, homemade cherry jam is a good choice. It can be stored for a relatively long time, and the sweetness can be adjusted by making it yourself, and you can make delicate jam or large fruit jam. Let me share it with you today.
Tags
Ingredients
Steps
-
pounds of cherries, washed and pitted.

-
The simple way to remove the pit is to poke it in with a chopstick from the end of the cherry (the side with the handle), and the pit will naturally come out from the other side.

-
In this way, you have a large pot of cherry ingredients. Here you can choose. If you like to eat large fruits, you can pickle them with sugar. If you like delicate jam, you can now put the cherries in a plastic bag and roll them into fine pieces. It is not recommended to use a juicer as it will cause the fruit and juice to separate, which will affect the taste of the jam.

-
pounds of cherries are just over a pound if you remove the pits, so 300 grams of sugar is more appropriate. This is basically cherry jam without acidity. If you like it sour, add less sugar now and add it appropriately when it is finally cooked.

-
Mix well with your hands, cover with plastic wrap, and refrigerate overnight. I think this step is quite necessary. Don't rush to cook it. Let the cherry juice penetrate and the sugar penetrate. The taste of the resulting jam will be different.

-
The next morning, a lot of cherry juice had separated.

-
It is recommended to use a casserole or stainless steel pot for cooking. Add enough water to cover the cherries.

-
Also juice a lemon and set aside.

-
Bring to a boil over high heat, then add lemon juice and stir slowly.

-
There will be a lot of foam after boiling, be sure to skim it out carefully. At this time, simmer over medium heat for about 10 minutes. During this period, you can add some sugar according to taste. It is recommended to add rock sugar at this time, not granulated sugar. The color will look better when made.

-
After removing the foam, the water content has been greatly reduced, and now you can smell the strong cherry jam flavor. Change to high heat and wait for another 2-3 minutes to collect the juice.

-
It's basically ready. Turn off the heat and let it cool before bottling. The bottle must be water-free and oil-free!

-
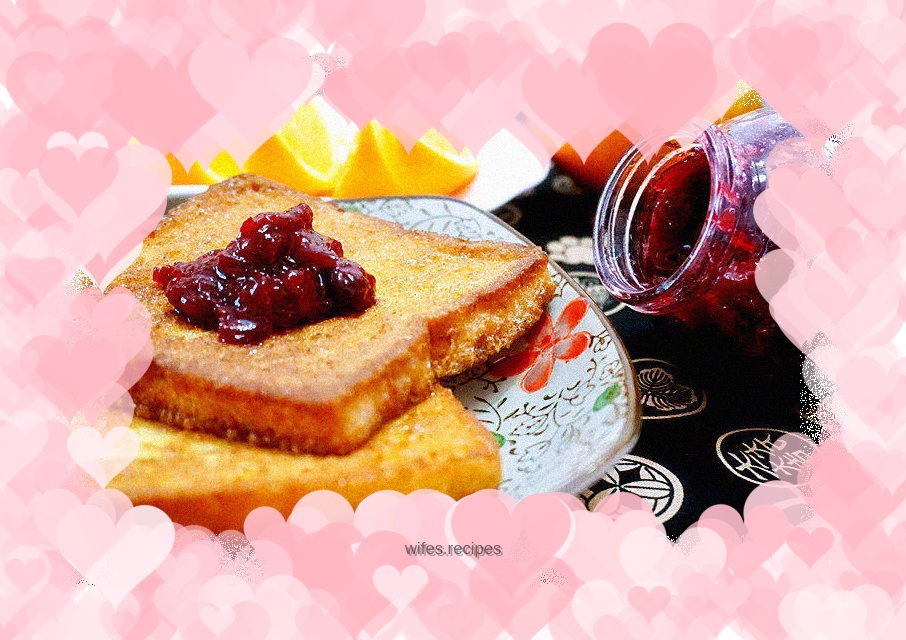
Store it in the refrigerator and pair it with toast and milk. It’s a great breakfast!
