Rainbow chiffon cake
Overview
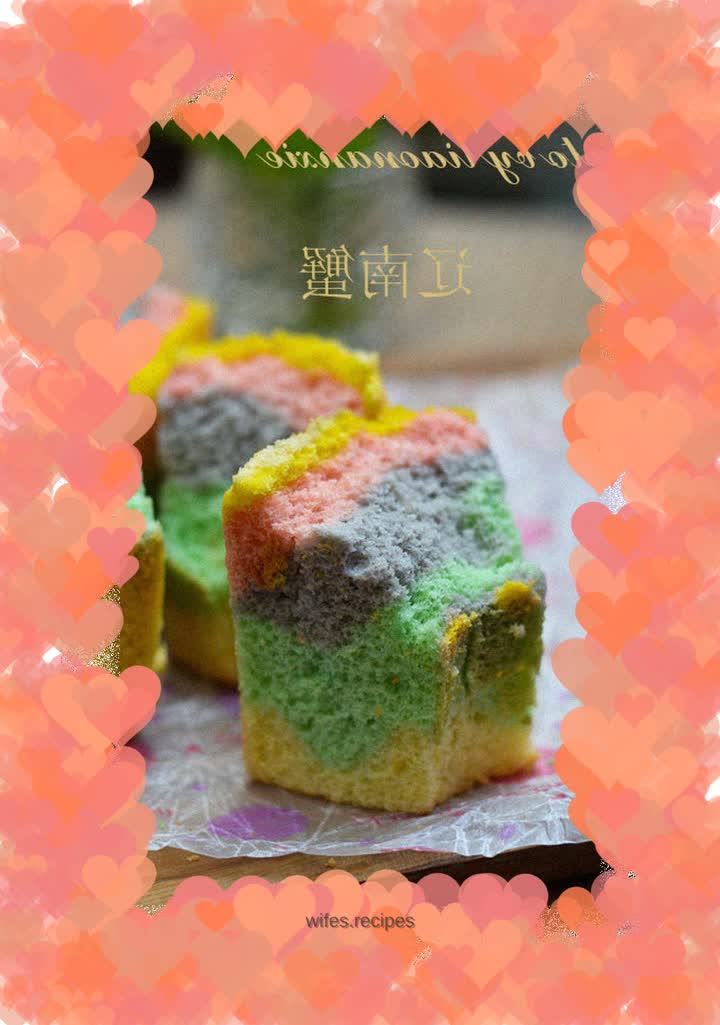
[Rainbow Chiffon Cake] Let’s make the cake more beautiful. I think about it. It’s the last day of 2014. Let’s make a beautiful cake. Just do what's in your heart. The 6-inch chiffon model is back, let’s light it up too. This cake is not ideal because there is a slight sedimentation on the top, because the color is not completely done, because the movement when removing the film is too big... Well, none of this affects its deliciousness. I know that Tongniu will like it, Mi Niuer will like it, and that is enough!
Tags
Ingredients
Steps
-
Material diagram.

-
Separate the egg yolk and egg white. I put the egg yolk directly into the milk and oil. Once it’s done, it’ll be as simple as possible.

-
Add 20 grams of sugar and mix evenly.

-
Beat the egg whites with an electric whisk. Add sugar once while soaking.

-
Add sugar once more when soaking.

-
Add sugar once more when it becomes finer. That is to say, for 60 grams of sugar, 20 grams are added to the egg yolks, and the remaining 40 grams are added to the egg whites in three batches. Easy to whip egg whites. Beat the egg whites until the egg beater is turned off. The egg whites will form a triangular shape after being pulled up.

-
Sift the flour into the egg yolk paste and mix manually with a whisk.

-
Beat evenly at low speed without dry powder.

-
Take two scrapers of egg white bubbles and put them into the egg yolks.

-
Use cutting and mixing techniques to mix evenly.

-
Pour this part of the paste back into the egg white bubble,

-
Use cutting or turning techniques to mix evenly.

-
Take a small portion of the beaten paste and add coloring. I added blue.

-
Use the cutting and mixing method to mix evenly. I had never used this method before, so I felt a little uneasy, but it turned out that there was no problem. I had to master the technique when mixing, and there was no problem. Preheat the oven to 170 degrees.

-
Pour a small amount of primary color paste into the mold.

-
Pour the mixed blue paste evenly onto the original color paste.

-
Then take a small amount of primary color paste. Add purple coloring and mix well.

-
Pour evenly into the mold.

-
Then take the original color paste, add red pigment, mix evenly, and pour into the mold. Pour evenly and gently.

-
Take the original color paste, add yellow pigment, and mix evenly.

-
Pour into the mold and pour the remaining original color paste into it.

-
Middle rack of oven, 170 degrees, 70 minutes.

-
I took a picture of this picture, it’s so unique.

-
When it comes out of the oven, turn it upside down. It’s too full and can’t be pressed. Use a rolling pin to support it.

-
Cool bread. Use the demoulding knife to remove the mold.

-
It’s too harsh, it looks like this. Hehe.

-
It’s still pretty good if you open it up and take a look.
