Homemade Liangpi
Overview
It’s hot summer... I just want to eat something cold😜... I can add whatever side dishes I want... This time I didn’t add chili oil, it’s still delicious... I’ll eat it up as soon as it’s on the table😘
Tags
Ingredients
Steps
-
Add flour and water and knead it into a dough for about 30 minutes

-
Cover with a towel and let ferment for about 30 minutes

-
Start the dough washing step and add water to the dough. You don’t need to add too much because you need to wash it 4-5 times

-
Start washing your face... that is, rub it, the water will slowly turn into milk color...

-
This is what the dough looked like when I washed it for the fifth time...and the water no longer has the color of milk...there is no need to wash it

-
Take a closer look...This is gluten...Put it on a plate and set aside...After the cold skin is done, steam it in a pot and it will be gluten😘

-
Gluten is so flexible😊

-
Strain the batter

-
The filtered batter is put into bottles...it begins to settle

-
It has settled overnight...Isn't it obvious😃...Pour off the water on top and mix the lower layer of batter evenly...It can be steamed in the pot...Thinner ones are better...Slowly try it a few times and you will get familiar with it

-
Look, it’s just like this...thin

-
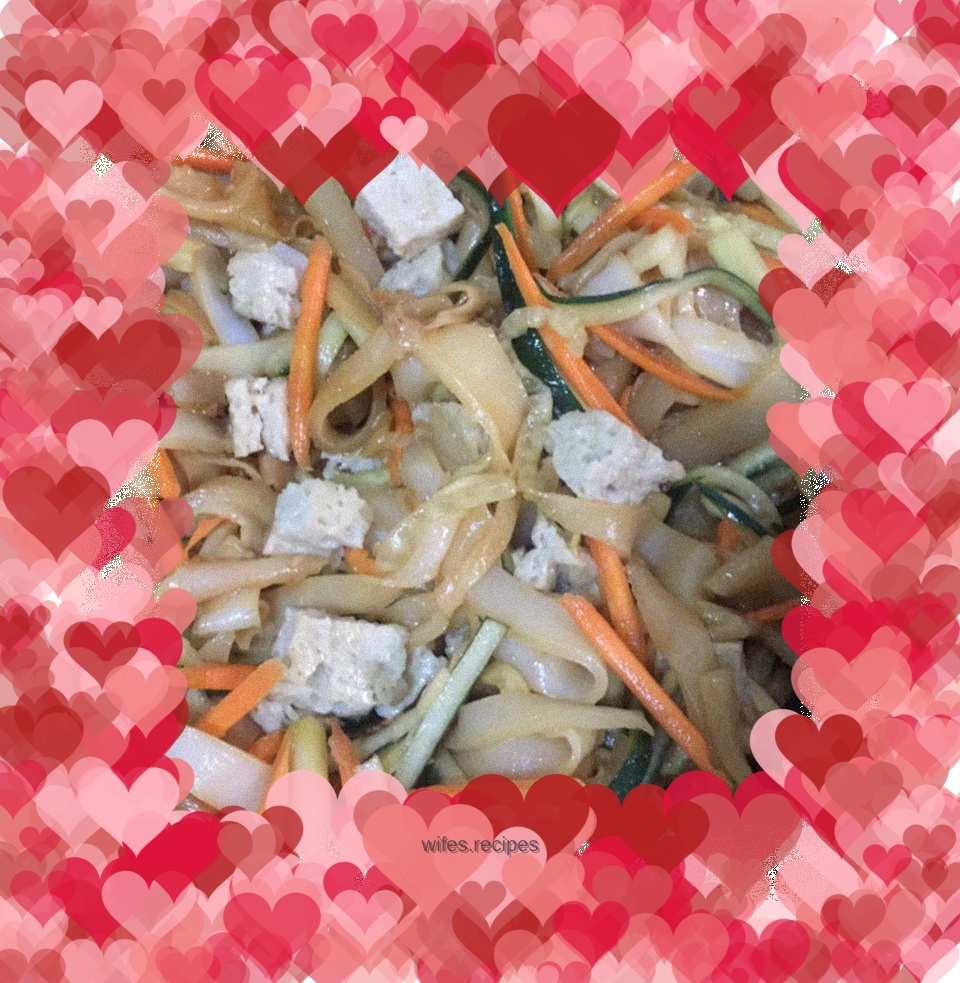
Cut into strips😳

-
Mix all the ingredients...the delicious cold skin is ready😘
