Milky Coconut Toast
Overview
The detailed method of making delicious coconut milk toast is a recipe specially written for a good friend of mine. Although it is a bit verbose, it is still helpful to novices. I hope my friends and I can work together to let my family enjoy healthier food!
Tags
Ingredients
Steps
-
Pour 210 grams of milk into the mixing bowl of a chef's machine, add 4 grams of yeast, stir evenly and let it sit for a few minutes;

-
Add an egg and mix well;

-
Add 350 grams of high-gluten flour;

-
Turn the kitchen machine on low speed and add 4 grams of salt after shaping;

-
Remove the cling film from the lid of the machine and refrigerate overnight, or ferment at room temperature until no more than 4 times in size, and the dough will have an obvious honeycomb shape when peeled off;

-
Cut the dough into small pieces with scissors;

-
Add all the main dough ingredients except butter, and knead the dough at medium speed to the expansion stage (I kneaded the dough on the 4th setting of the kitchen machine for less than 10 minutes);

-
Add butter and knead until fully expanded (it takes about ten minutes on my chef's machine at setting 4);

-
This is what I call the glove mold;

-
Take out the dough and divide it into two equal portions;

-
Make coconut and sesame filling; mix 50g coconut, 40g caster sugar, 30g white sesame, an egg and 20g softened butter until pureed;

-
Take a piece of dough and roll it into a large rectangular piece;

-
Spread the filling evenly;

-
Rolled into a long tube;

-
Cut in the middle with a knife;

-
Twist into a twist;

-
Put both ends down into the toast mold, and complete the two pieces in sequence;

-
Put it in the oven, put a box of water next to it, start the oven to ferment and ferment for about an hour;

-
Ferment until the mold is eighty percent full, and brush the surface with a layer of egg wash (you don’t have to brush it);

-
Place in the middle and lower racks of a preheated 175-degree oven and heat up and down for about 45 minutes (I baked for ten minutes to color and then covered with tin foil);

-
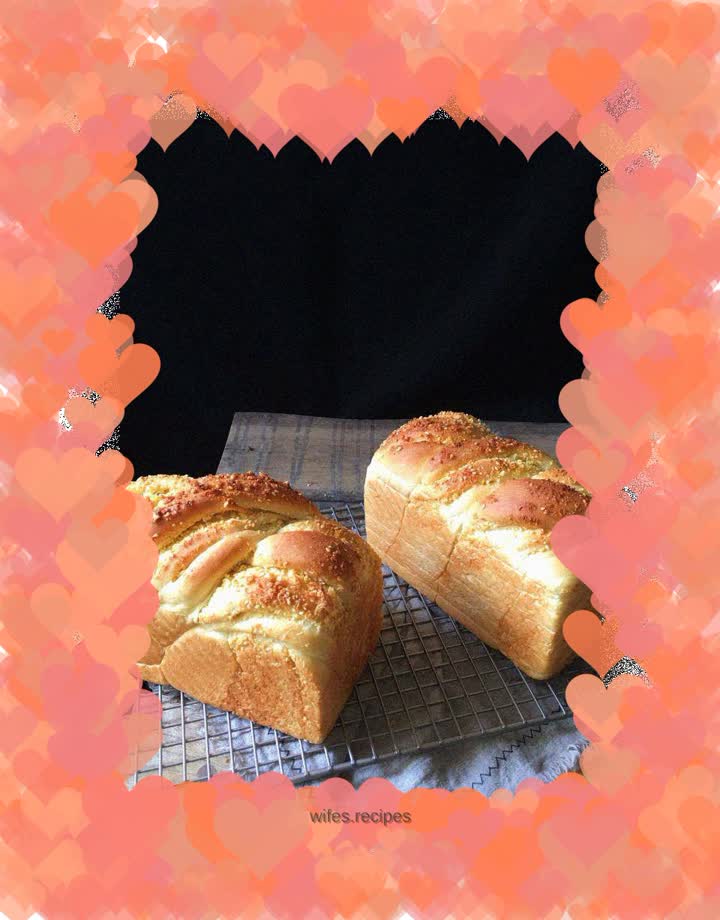
Finished product pictures

-
Finished product pictures

-
Finished product pictures

-
Finished product pictures
