【Chocolate chiffon cone】
Overview
The traditional afternoon tea culture is gorgeous, elegant and exquisite. Accompanied by soft music, dignified ladies chatted softly with elegant gentlemen. Gold-plated and silver-plated cups and plates were placed on the table. The three-tiered silver trays were filled with tempting strawberry tarts, small cakes, waffles and sandwiches. The rich milk tea exuded a sweet fragrance... Of course, petty bourgeoisie and aristocrats are never just a material life, but an attitude. It doesn't matter if you don't have a marigold and a silver plate. Make yourself a warm pot of milk tea and a tempting dessert. As long as you are in a comfortable mood, that's enough. Especially on a bright winter afternoon, open the windows and let the warm sunshine shine in. A cup of milk tea, a dessert, and a book to enjoy your leisure time at home. Of course, I have my baby with me in my leisure time, and I feel so happy and satisfied. Seeing my baby eating small egg rolls made by Mommy and drinking silky and fragrant milk tea made by Mommy, the rich atmosphere makes me feel sincerely proud as a mother.
Tags
Ingredients
Steps
-
Prepare ingredients.

-
Use an egg separator to separate the egg whites and egg yolks. When separating the eggs, be careful not to let the egg whites get a trace of egg yolk. Pour the egg whites and egg yolks into the egg beating bowl respectively. Make sure the egg beating bowl is free of water and oil.

-
Put 1 gram of salt into the egg yolk basin. The salt can make the sweetness of the sugar less greasy. Add another 10 grams of caster sugar. Beat evenly with a hand mixer.

-
Add 50 grams of salad oil in three batches, beating evenly with a hand mixer each time.

-
Pour 65 grams of pure milk into the egg yolk basin and beat evenly until the oil and water are combined.

-
Sift 80 grams of low flour into the egg yolk basin.

-
Stir evenly until it becomes a lump-free paste.

-
Beat the egg whites and add 5 drops of lemon juice.

-
Beat until it forms fish-eye bubbles, add one-third of the fine sugar in ingredient A.

-
Beat until the egg whites begin to thicken, double in volume, and form a fine foam as shown, then add another third of the fine sugar.

-
Continue to beat until the egg whites are thicker and have lines on the surface. When the peaks of the egg whites on the whisk droop, add the remaining fine sugar. Then continue to beat. If the peaks of the egg white on the egg beater are long and not upright, it means that it has reached the level of wet foaming, that is, the level of nine points. To make chiffon cake rolls, just beat the egg whites to this level. Although the egg white has texture at this time, it feels lighter and softer. The egg whites in the basin are in the shape of curved sharp corners.

-
Add one-third of the beaten egg whites to the original egg yolk batter.

-
Use a rubber spatula to stir evenly. Then pour all the mixed batter into the egg whites.

-
Use the same technique to stir and chop until the egg whites and egg yolk batter are completely blended, and the mixed batter becomes thicker and evenly light yellow.

-
Pour the mixed original cake batter into a baking tray lined with greaseproof paper, and smooth the cake batter with a rubber spatula.

-
Hold the baking pan with both hands, knock it down a few times to shake off any large bubbles, place it in the middle and lower racks of the preheated oven, and bake at 180 degrees for 21 minutes.

-
Once baked, remove the baking sheet from the oven. Hold the parchment paper on both sides with both hands, lift the cake out of the baking pan, place it on a cooling rack, and carefully peel off the parchment paper around it.

-
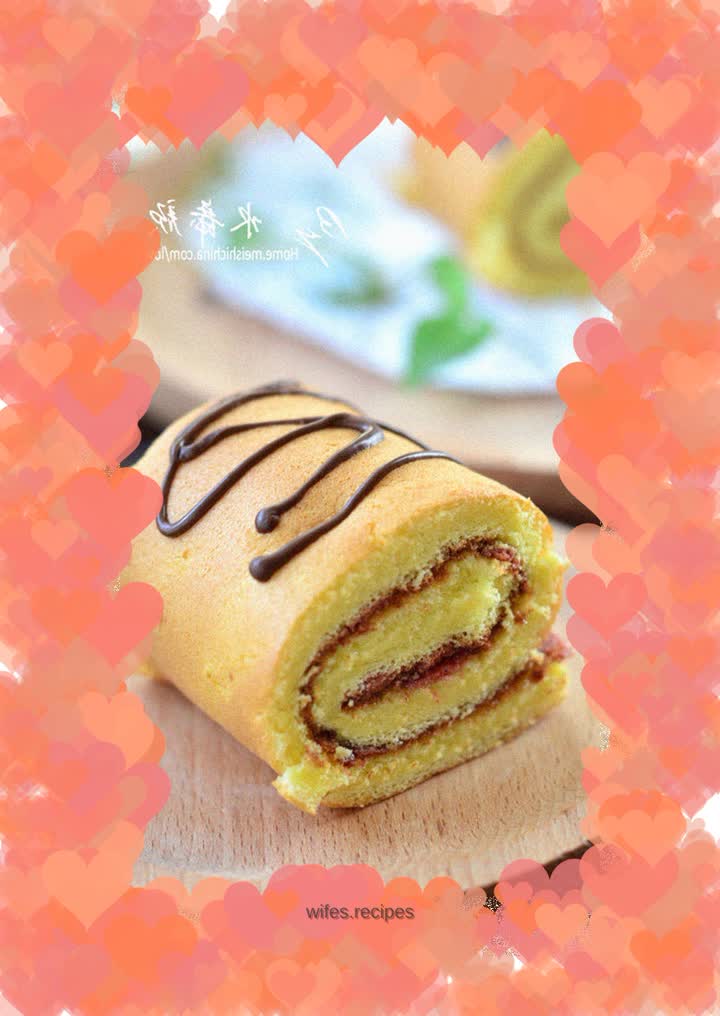
Place a piece of oil paper on another cooling net, place the cake upside down on the new oil paper, and remove the original oil paper. Place a new piece of oil paper on the first cooling net, and invert the cake with the oil paper off on the new oil paper again. Now brown the cake side up. Spread the strawberry jam evenly on the surface of the cake, roll up the cake with oil paper using a rolling pin. Roll the rolling pin backwards and the cake will naturally roll forward. After rolling, set for 10 minutes. After the chocolate is melted, place it in a piping bag and pipe on the pattern.
