Milky Mung Bean Cake
Overview
The scorching summer has arrived. Today I made this delicious snack for my family to cool off the heat. The whole family will love it. One bite is full of sweetness, with a strong milky mung bean flavor mixed with a hint of sweet and sour. It tastes so wonderful.
Tags
Ingredients
Steps
-
Clean the mung beans, add water and boil. If possible, use a micro-pressure cooker.

-
Be careful not to burn the pot over low heat throughout the process.

-
Be careful not to burn the pot during the whole process. When it reaches this state, you can proceed to the next step.

-
Fry slowly over low heat. When it's cooked to this point, you can add the whipping cream.

-
Stir-fry slowly over low heat. This process is very slow. If the heat is too high, it will easily burn the pan. Be sure to control the heat properly.

-
After frying to this level, you can add corn oil, sugar, maltose, etc. in small amounts many times.

-
After frying to this extent, you can add milk powder in small amounts many times. At this time, it will not stick to the pan and start to form a ball.

-
If you continue to speculate, the resistance will get bigger and bigger. Non-stick pans, also started with non-stick silicone spatulas. Step 9: After frying to this extent, it is complete. It is completely non-stick and has a silicone spatula. The surface of the mung bean cake is still a little dry.

-
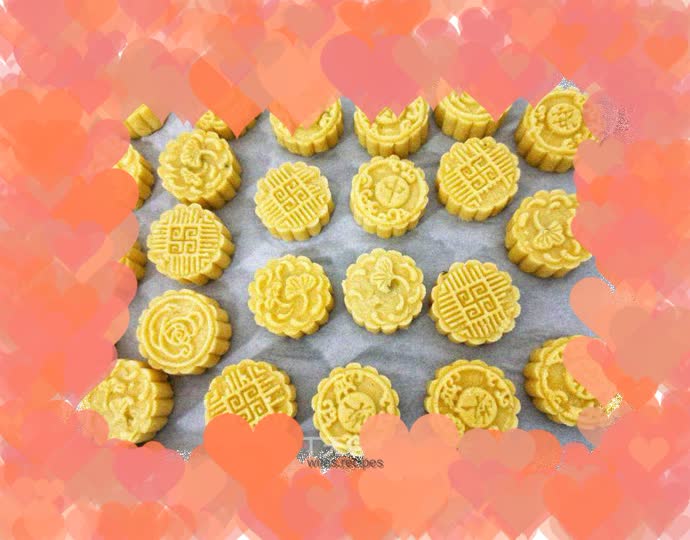
Prepare cranberries and purple raisins in advance, wrap them in mung beans, roll them into balls, put them into a mold and press them, and a mung bean cake is completed.

-
Various patterns, finished product weight between 36/38.
