【Christmas Brownie】
Overview
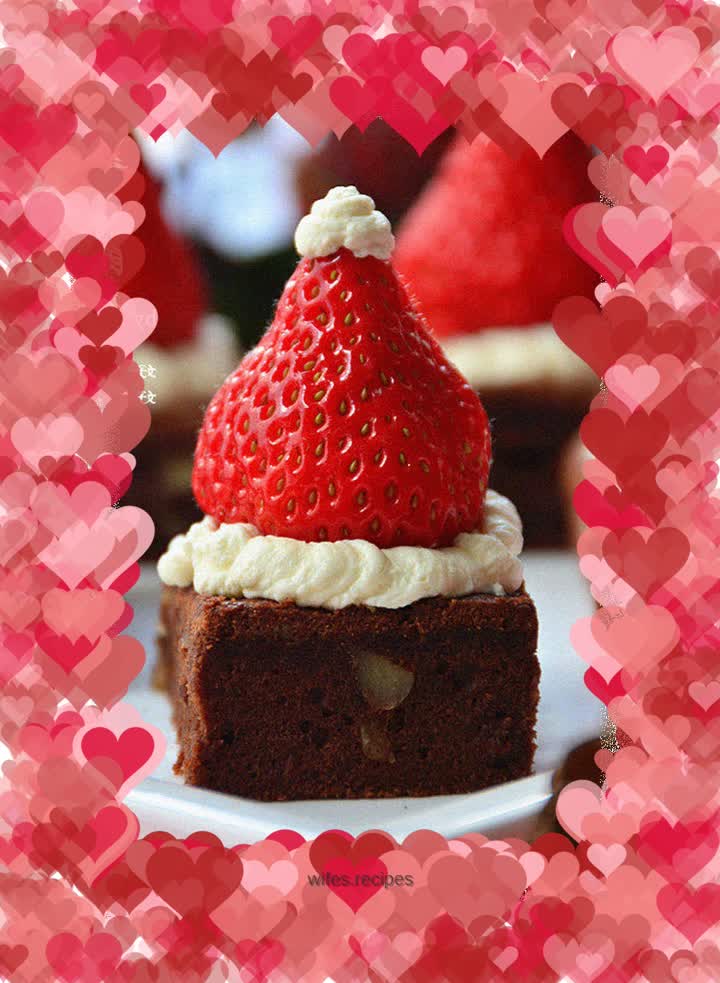
I am a hat lover, so I also put a hat on the cake this time~ This brownie is so cute. I put on the little red riding hood and turned into Santa Claus. Dear friends, look at it, it is very Christmassy~ This is a lazy cake and it is also very suitable for novices. The failure rate is zero. You can make such a beautiful cake in half an hour. Friends who like chocolate like me must accept it~! Chocolate brownie cake, also known as brownie cake, walnut brownie cake or Boston brownie. It is a small cake cut into pieces with rich layers and baked with a large amount of dark chocolate. It is named (brownie) because of its luxurious brown color. There is a very interesting story about the origin of brownies. It is said that there was a fat black grandma wearing an apron and baking soft and delicious chocolate cake in the kitchen. She forgot to beat the egg liquid first, and accidentally made a failed work. This cake that was originally going to be thrown away, when the old mother tasted it, it turned out to be very delicious. This cute mistake, brownie cake, has become the most representative cake in American families. Because of its dense sweet taste, mellow and rich chocolate aroma, the most exquisite part is the hint of bitterness of cocoa after the aroma. This bitterness is paired with the crispiness of walnut kernels, and the slight bitterness of walnuts melts into the sweetness of the cake. It is a perfect match!
Tags
Ingredients
Steps
-
Prepare the required ingredients

-
Add sugar to the egg liquid and beat evenly

-
Heat butter in a bowl over water until melted

-
Place dark chocolate in a bowl over water and heat until melted

-
After the butter cools down slightly, add it to the egg mixture and stir evenly

-
After the dark chocolate has cooled slightly, add it to the egg mixture and mix well

-
The stirred egg liquid is silky smooth

-
Sift in the flour and stir evenly

-
Add walnuts and mix well

-
Pour the cake batter into the baking pan (put a layer of parchment paper on the bottom of the baking pan)

-
Scrape the surface smooth and put it into the oven at 180 degrees, middle layer, for 20 minutes

-
Let the baked cake cool, take it out and cut it into 12 small pieces

-
Add sugar to light cream and beat until very fluffy

-
Put the whipped cream into a piping bag (use a medium round piping tip)

-
Cut the bottom of the strawberry into flat pieces

-
Spread an appropriate amount of cream on the bottom of the strawberries and place it on top of the cake

-
Pipe a circle of cream around the arranged strawberries, and a little cream on top, and you're done
