Chocolate Rose Cookies
Overview
# Baking Road #The second episode~... Actually, I have practiced cookies many times. The shape of the extrusion was very beautiful the first few times. After being heated at high temperature, it turned into a cake, and the color was not as bright as the ones sold outside. So today I tried chocolate cookies, hehe, no matter how I bake them, they always have the same color... I hope you can support me! Chinese Valentine's Day is coming soon, and giving rose-shaped cookies to loved ones is more meaningful than real roses!
Tags
Ingredients
Steps
-
Cut the butter into cubes and put it in a bowl. Heat it in the microwave over low heat for 1 minute and 30 seconds until it is basically melted;

-
Strain the soft white sugar (you can also use powdered sugar, the amount is added according to your preference of sweetness) through a sieve and put it into the melted butter;

-
Stir manually until the sugar and butter are completely dissolved, which can also be said to be a whipping process;

-
Put the egg yolks into the whipped butter and mix well by hand;

-
Add a few drops of lemon juice, because sometimes the fishy smell of eggs will affect the taste and texture of cookies. Adding a small amount of lemon juice can increase the freshness (adding too much will turn into lemon cookies~);

-
(I usually like to use dark chocolate, but you can also use cocoa powder instead. The amount you add depends on your personal preference.) Cut the chocolate into pieces and heat it over water until melted (I used a steamer this time. The only disadvantage is that steam water may fall into the bowl, but the impact will not be too big);

-
Pour the melted chocolate into the butter and stir evenly. You can add a few drops of milk to add some milky flavor~

-
Use a sieve to sift the low-gluten flour twice into a bowl (the amount actually depends on the shape after mixing. I am just guessing here, and I don’t have very accurate data);

-
This is enough;

-
Put it into a piping bag (special reminder, if you use this kind of plastic piping bag like me, it is best to use two sets together, it is too easy to break~)

-
If you want to extrude cookies that look like roses, choose this piping tip, or you can use other ones;

-
There should be enough distance between each one, otherwise the cookies may turn into "cookie cakes";

-
Preheat the oven to 170 degrees for about 5 minutes, place the baking pan in the middle position, and bake for about 15 minutes (the time and heat will depend on your own oven, you have to check it at the end, you can adjust it to 150 degrees in the last few minutes to prevent burning);

-
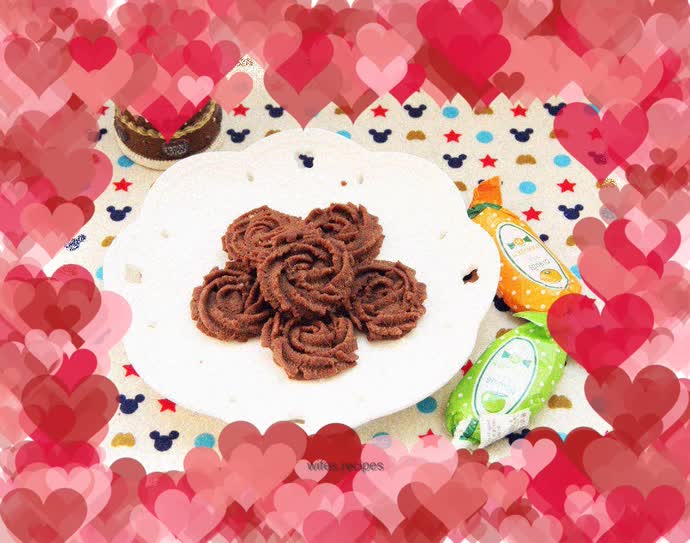
Remember to place the plate and take photos! The front taste is a little sweet of milk, and the back taste is a little bitter of chocolate. Pair it with a cup of coffee or black tea during afternoon tea time. It’s so enjoyable!
