Grape decoration cake
Overview
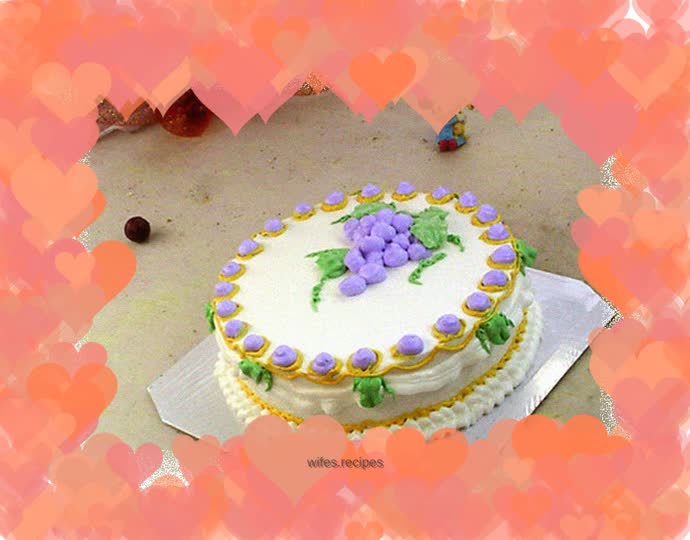
For the third decorated cake, I want to examine the changes in the leaf-shaped flower mouth. I don’t know why but I thought of grapes, so I thought of round-mouthed flowers as a supplement. Although the result of the second decoration was very different from the expected plan, it was better to deviate from the route than to find a temporary route. Moreover, as soon as inspiration strikes, thoughts come flooding in, and I can’t help but think about it. The completed result was roughly in line with the original idea, but when I squeezed the yellow lines in the end, I felt that the expected effect was a bit inappropriate, so I decided to change the plan temporarily. I couldn't find any good ideas at the time, so I had to piece it together randomly. The smooth surface is still not smooth, and the hand wind is still unstable. The most important thing is that the whipped cream is not as strong as expected. Maybe it would be better to sit in ice water and whip it. Maybe it has something to do with the small amount?
Tags
Ingredients
Steps
-
Materials

-
Smooth the surface of the cake and set aside

-
Add light cream to sugar and beat into peaks

-
Take an appropriate amount of cream and put it on the cake base

-
Smooth the top and sides

-
Use a leaf-shaped nozzle to extrude pleats on the bottom edge

-
Continue to pull out arc segments on the side

-
Make purple cream and squeeze out the grapes with a round mouth nozzle

-
Small balls the same size as grapes are extruded from the edge of the top surface, with equal spacing

-
Make the green cream and squeeze the leaves over the grapes

-
A small green leaf is also squeezed out at the intersection of the side arc segments

-
Change to a thin piping bag and squeeze out grapevine whiskers near the leaves

-
A small section of whiskers is also squeezed on both sides of the side leaves

-
Use yellow butter to draw a small arc on the top edge of the side

-
Continue to use yellow lines to surround each of the purple balls

-
Finally, use a yellow outline
