Baulmeck Sponge Cake Cup
Overview
Simple ingredients and simple methods can make beautiful cake cups. You can put them in whatever you want, add creamy fruits, and eat them with the cup. I like it
Tags
Ingredients
Steps
-
Collect materials and weigh out the quantities

-
Whipped cream and fruits (for decoration)

-
Crack the eggs into a stainless steel basin

-
Use an electric mixer to beat at low speed. When big bubbles form, add all the soft sugar

-
Start whipping at high speed. The volume will continue to increase, the foam will be fine and the color will turn white. Continue whipping

-
It won’t disappear immediately after typing until 8 words are written

-
The dripping speed is very slow and can drip

-
Pour in the corn oil along the egg beater, beat with an electric egg beater for 8 to 10 minutes, and mix the oil evenly

-
Sift in the low-gluten ingredients in three batches, stir well each time, and then add the next batch

-
Pour the mixed egg batter into the mold until it is eighty-full (the mold must be greased with butter first), hold it up with your hands and tap out the air bubbles

-
Place in the oven at 180 degrees and bake for 20 minutes

-
It can be cooled naturally after taking it out of the oven. I cooled it upside down and the effect was good

-
I let it dry overnight and unmoulded it the next morning. It was very good

-
Beat 200 grams of egg cream with caster sugar

-
Squeeze into cake cup

-
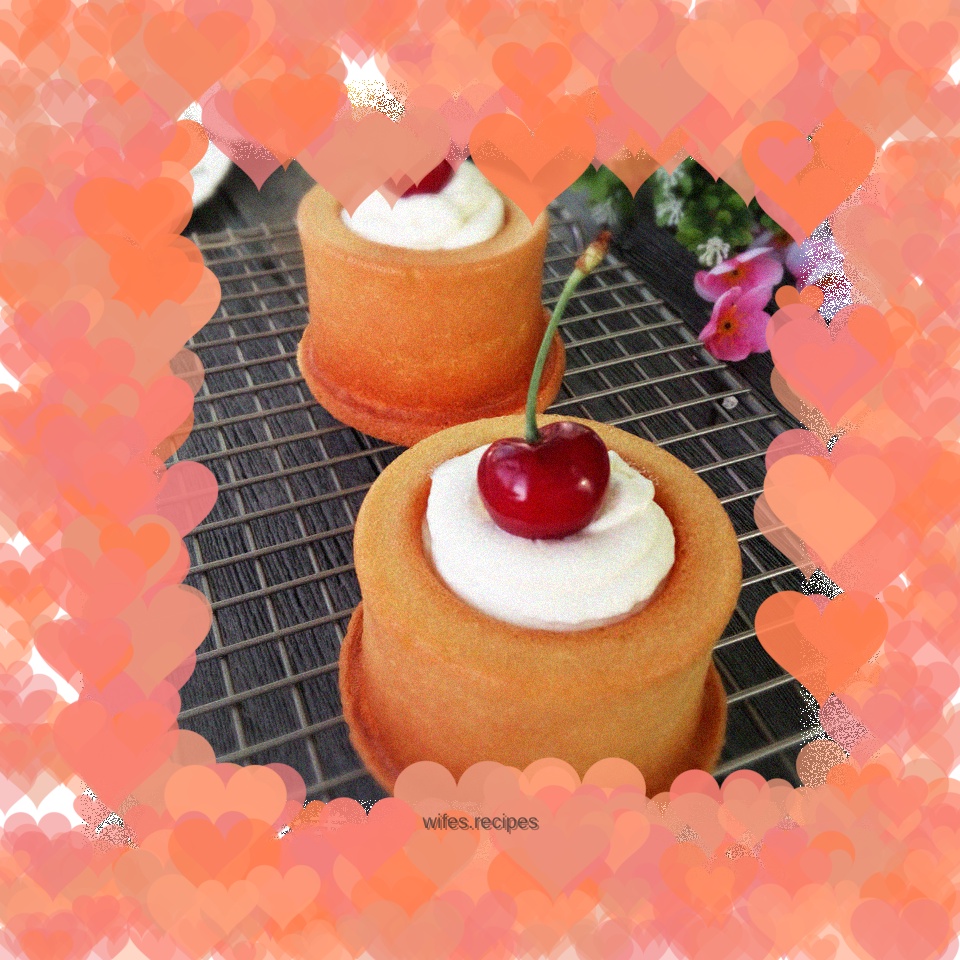
Decorate with cherries and the beautiful cream fruit cake cup is ready

-
Finished cup picture

-
Picture of the finished product with creamed fruit

-
Appreciation picture of the finished product

-
Appreciation picture of the finished product
