Piggy Bean Bun
Overview
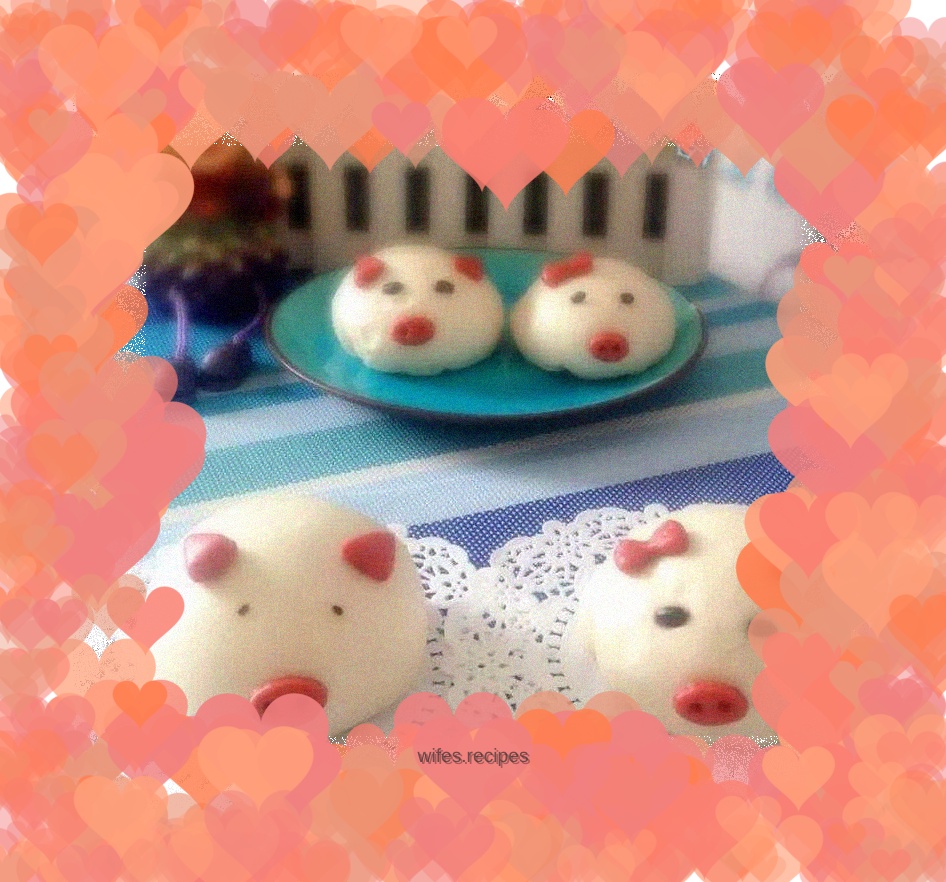
This is a morning snack that kids will love. At least my children will keep staring at this cute bun while eating it. They will definitely feel very happy eating such a morning snack, haha~
Tags
Ingredients
Steps
-
Melt the yeast with warm water and set aside.

-
Red dough: Add 3-5 grams of red yeast rice powder to 100 grams of flour, slowly pour in yeast water (about 1 gram) and mix well, then add an appropriate amount of water and stir with chopsticks into a flocculent form.

-
White dough: Add 3 grams of yeast water to 400 grams of flour, slowly add an appropriate amount of water, and stir with chopsticks to form a fluffy dough.

-
Use your hands to knead the fluffy flour into two smooth doughs.

-
Cover the two doughs with plastic wrap and ferment at room temperature until they double in size and form a honeycomb shape inside. Dip your fingers in flour and press the dough until it rises without shrinking.

-
Transfer the dough to the cutting board and knead until there are no obvious holes on the cut surface, which means that the air in the dough is basically discharged, and it is considered ready.

-
Roll the dough into a long loaf.

-
Use a knife to divide into about 30 grams of dough.

-
Flatten each dough with your hands.

-
Hold the edge of the dough with your left hand and turn the dough. Use a rolling pin with your right hand to roll the dough into a round dough that is thick in the middle and thin around the edges.

-
Put an appropriate amount of bean paste filling in the middle of the dough.

-
Use your right thumb and index finger to pinch the edge of the dough and fold it, turn it with your left hand, and fold it counterclockwise with your right hand until it closes and forms a bun shape.

-
Place the buns on a chopping board and shape into a round shape with your hands. The little pig's body is ready.

-
Take a small amount of the risen red dough and use a rolling pin to roll it into a moderately thick sheet.

-
Use a mold to take two triangles from the red dough as the pig's ears.

-
Use a mold to take an oval-shaped piece of dough on the red dough as the pig's nose.

-
Poke two holes with a toothpick in the middle of the pig's nose.

-
Here are the finished pig ears and nose.

-
Dip the ears and the bottom of the nose in some water and stick them in place on the dough.

-
Use black sesame seeds or black beans to stick to the piggy eyes.

-
Also be a female pig wearing a bow. ︿_︿

-
Make all the piglets in sequence.

-
Pour cold water into the steamer, apply a layer of cooking oil on the basket, and put the piglet embryos in. Make sure to leave a gap between the embryos to give them room to expand. Continue to rise for 10 minutes. Turn up the heat and bring the water to a boil, turn to medium-low heat and steam for 15 minutes, then turn off the heat and wait 5 minutes before opening the lid.

-
Isn’t it cute?
