Watermelon Cake Roll
Overview
I really like the theme of this competition. Using natural materials to create creations makes baking both fun and healthier. Whenever I enter the vegetable market these days, my eyes focus on colored ingredients. Ingredients of various colors are piled up in the kitchen, and he is quite a lustful person! After trying almost all kinds of vegetables, I was exhausted and turned my attention to fruits. I was really overjoyed after trying it. I didn’t expect that baking fruits would be much better than using vegetable juice. The juice is not only bright in color, but also has a great taste. This is the first time I tried using bayberry juice as a dye. The bayberry reduced the greasiness of the cream, and the cream reduced the acidity of the bayberry. The sweetness and sourness were just right. Even my mother said it was delicious. This cake looks very complicated, but if you are skilled in making cake rolls and mousse respectively, then this watermelon roll will not be difficult for you at all. The melon pulp is a mousse cake made with bayberry juice. It tastes slightly sour and makes people salivate after one bite. Compared with ordinary mousse, it is less sweet and more memorable. The melon seeds, which can look real, are decorated with black sesame seeds. You can also replace them with chocolate particles. The green melon rind is a chiffon cake roll made of spinach juice. It is light and soft. When you take a bite, the sweetness of the mousse and the softness of the chiffon are mixed together, making you unable to stop eating one piece after another.
Tags
Ingredients
Steps
-
Watermelon rind ingredient collection picture

-
Collection of watermelon pulp ingredients

-
Collection of ingredients with white fillings

-
Because mousse takes time to freeze, we make the watermelon mousse first. Wash the bayberries, remove the core and put them into an ACA portable juice cup

-
No need to add water, puree directly

-
Soak the gelatine slices in cold water until soft and set aside (take them out immediately after soaking and set aside. Do not leave them in water all the time, as they will melt)

-
Put the bayberry puree into a non-stick pan, add lemon juice, and simmer over low heat until thickened. This process takes a long time, and you need to stir constantly to prevent it from burning

-
When the jam is thicker, add sugar and cook until the sugar melts and the jam returns to its thick consistency

-
While hot, add soaked gelatine sheets, stir until melted, and let cool

-
Add light cream to sugar and beat with a whisk until slightly textured

-
Mix bayberry jam and light cream, stir well

-
Pour into the mold, smooth the surface and put it in the refrigerator

-
Now make the watermelon rind and separate the egg white and yolk

-
Put the egg whites in an oil-free and water-free container, add sugar in two batches, and beat until wet foam (lift the egg beater and a hook shape will appear)

-
Add spinach juice and vegetable oil to egg yolk

-
Beat well with a whisk

-
Sift in the flour and mix evenly with a spatula

-
Pour one-third of the egg white batter into the egg yolk batter, stir it slightly, pour the egg yolk paste into the remaining egg white batter, and stir evenly

-
Pour the prepared cake batter into the baking pan, smooth the surface, and lightly shake the baking pan a few times

-
Place in the preheated oven and bake at 180 degrees for 15 minutes until the surface becomes slightly brown

-
Take it out of the oven, place it face down on the grill, tear off the parchment paper while it's hot, then lightly cover it with parchment paper and let it cool to prevent the surface of the cake from drying out

-
Make a white inner crust, add light cream and sugar and beat thoroughly

-
Spread the whipped cream on the cake slice, leaving two centimeters around

-
Use an appropriate round tool (I used a glass cup with a diameter of 6 cm) to cut out several circles of equal size

-
Arrange them on the cake piece (this step must be fast, I was a little slow, the round mousse was a bit soft, but the last step should be done carefully without affecting the final shape)

-
Bring the two ends of the cake together and roll into an O-shaped roll,

-
Put it in the refrigerator to freeze until it hardens, take it out and cut off both ends,

-
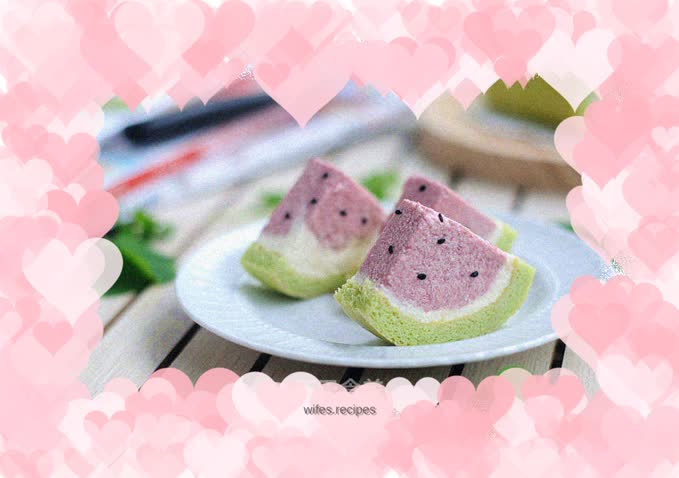
Slice into cubes and stick with sesame seeds

-
Eat it quickly, otherwise it will melt

-
Sweet and slightly sour, it makes people salivate and whet their appetite
