Super beautiful peach skin mooncakes
Overview
Mooncakes can also have super good looks! Colorful colors, various flavors, all without any added pigments. What I bought was the most basic flavor of milk peach mountain bark. On this basis, I made different colors of peach mountain bark by adding matcha powder, cocoa powder, etc. The filling is mainly white bean paste filling, with various jams, coffee powder, etc. added to flexibly change various flavors. The appearance definitely beats other mooncakes instantly. Want to know how the beautiful and delicious Taoshan skin mooncakes are made? Come and take a look.
Tags
Ingredients
Steps
-
Divide the milk peach skin into 6 equal portions, add various powders respectively, and knead them evenly.

-
Then divide the peach mountain skin into 20 portions according to the 15g portion each, round each portion and set aside.

-
Divide the white bean paste filling into 3 portions, add flour and jam respectively, knead well and set aside. Each portion of various fillings is 35g, divided into 20 portions, rolled into balls and set aside.

-
Take out a piece of peach crust, press it into a pie crust that is thick in the middle and thin on the sides, and put the filling in the middle of the pie crust. Flip over and tuck the skin in so it fits snugly against the filling.

-
Use the thumb of one hand to hold the filling, and the thumb of the other hand to push the pie crust up so that it is close to the filling and slowly climbs up, and finally closes the mouth and makes it round.

-
Wrap all the mooncakes in turn.

-
Take out the mooncake mold, put in the flower pieces, and seal it. Slightly roll the mooncake dough into a cylindrical shape, put it into the mold and press it with a little force.

-
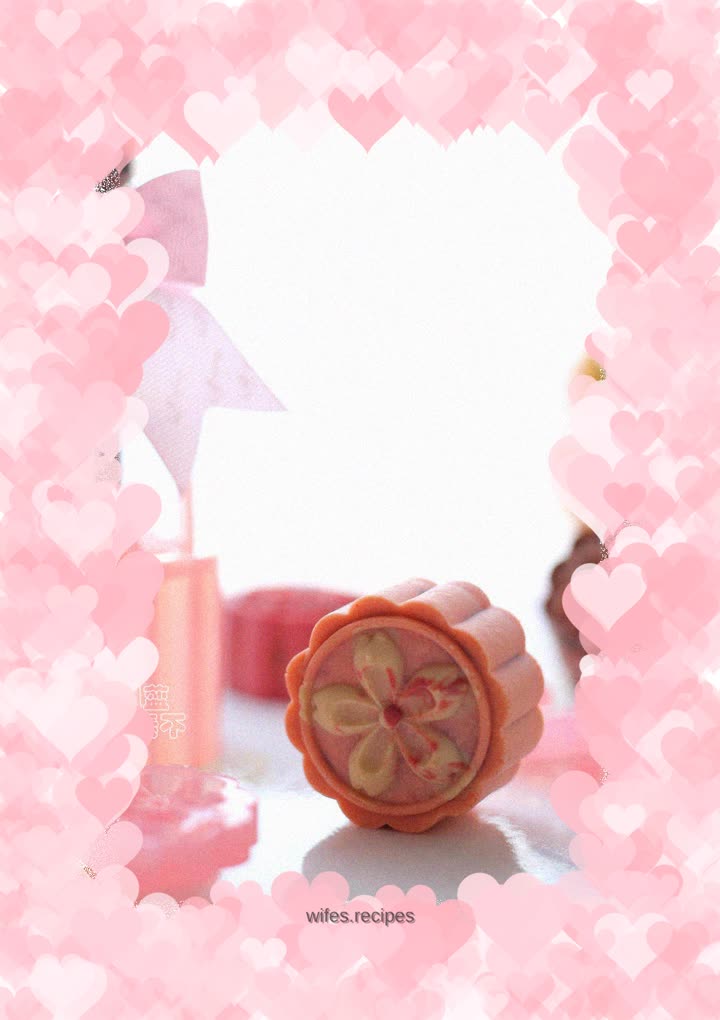
Gently lift the mold, and a beautiful mooncake is printed.

-
All mooncakes are pressed according to this method. (You can start preheating the oven before pressing the mooncakes, setting the upper and lower heat to 190°C).

-
Place the printed mooncakes on the baking sheet, place in the preheated oven, set the upper and lower heat to 170°C, middle layer, and bake for 15 minutes.

-
Let the baked mooncakes cool slightly before transferring to a drying net, continue to cool, and then seal and store.

-
Pattern 1: Mix two different colors of Peach Mountain Peel together, be careful not to knead it too evenly, then roll it into a round shape and use a mold to press out the pattern, so as to get a marble texture of Peach Mountain Peel.

-
Pattern 2: You can first take a little white peach skin and press it on the pattern part of the mold, and then press in other colors of peach skin mooncakes. This way, you will have mooncakes with different patterns and background colors.

-
Pattern 3: There is also the simplest one-color peach mountain leather, which does not require any mixing and matching, but it is also beautiful.
