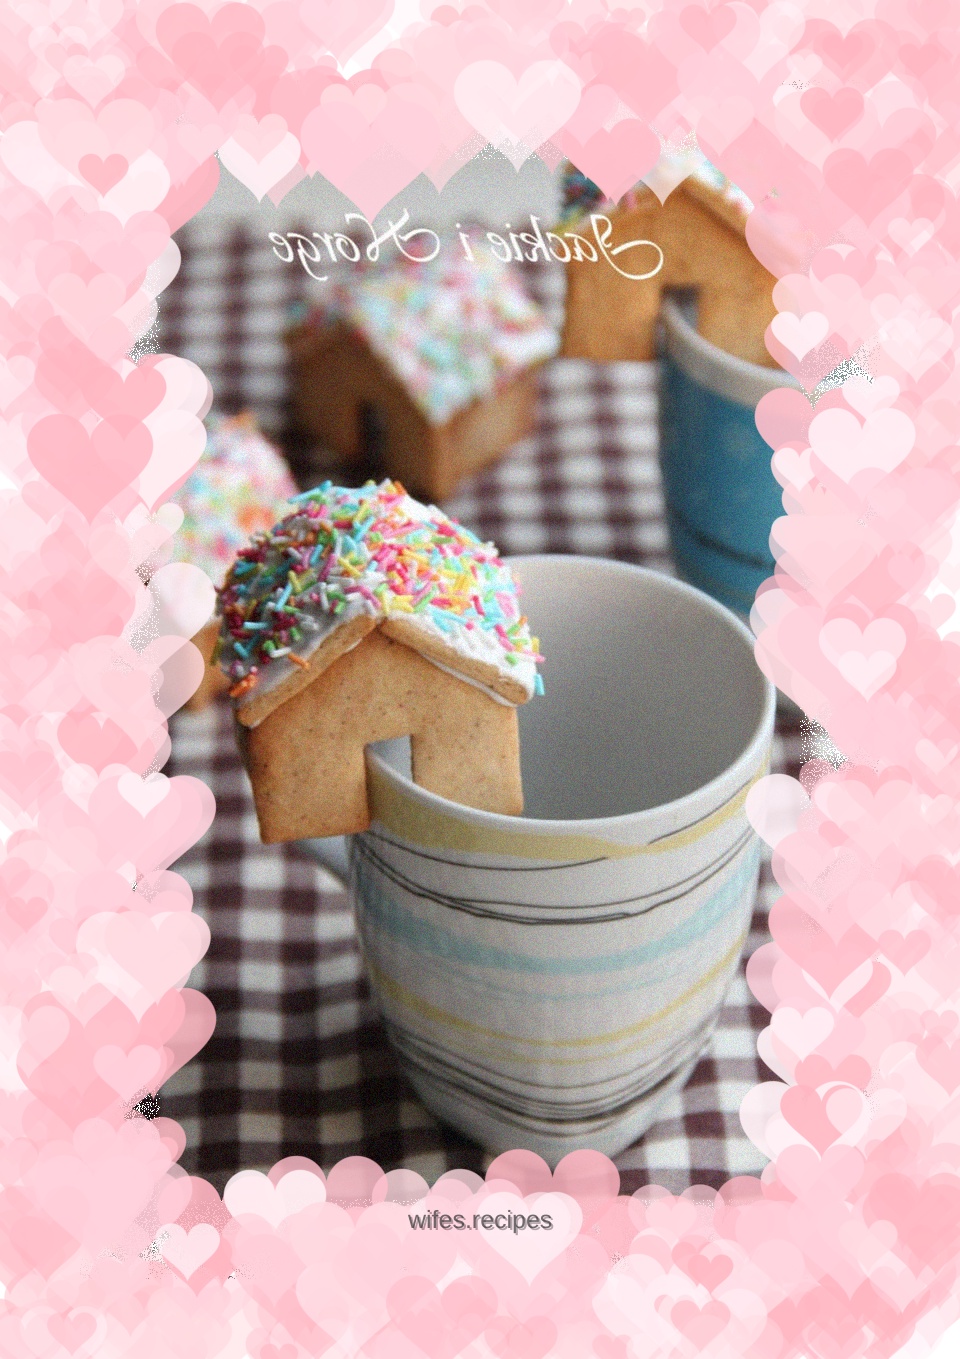
Water cup gingerbread house (a mini version of the gingerbread house~)
Overview
As December enters, all the students who love baking must have started to get busy, making cakes and gingerbread houses to send to relatives and friends. . . Although the gifts bought outside are very beautiful, they always lack a sense of thought. Why not make some novel and cute little gifts yourself, which are fun and delicious and are guaranteed to surprise the recipients. This year we are using an upgraded version of the gingerbread recipe from Norway. It is different from the version online that is basically made with brown sugar and honey. The taste is basically the same as the taste of ready-made gingerbread in the supermarket~
Tags
Ingredients
Steps
-
First draw the drawing on cardboard. The width of the door should be adjusted according to the style of your own water cup, usually around 1-1.5 cm. Cut them with scissors

-
Prepare the materials needed for gingerbread

-
Cut the butter into small pieces, add the syrup and caster sugar, and melt over medium heat until completely mixed

-
Remove from heat and cool slightly

-
Add light cream and mix well

-
Mix the various flours that have been weighed (actually there is another bowl of flour)

-
Take a large bowl, pour the previously mixed syrup, and sift in the powder

-
Mix evenly with the help of a scraper

-
Put it in a plastic bag and refrigerate for more than half an hour

-
Take a portion of the dough, cover the surface with plastic wrap, and roll it into a 2-3 cm thick piece

-
Move to oil paper and carve out the walls and roof of the gingerbread house along the cardboard

-
A small gingerbread house requires 2 copies of each pattern in the drawing

-
Put an egg white into a clean water-free and oil-free bowl, add powdered sugar in three batches and beat

-
Lift the egg beater and it will be nice if you can pull out the sharp corners

-
Put the meringue into a piping bag (I made a disposable one directly with oil paper)

-
Apply meringue to the edges of the gingerbread cookies and start assembling

-
After installing the four walls, use a water cup or other objects to lean against to dry the walls

-
Be sure to wait until the wall is solid before going up to the roof. Be careful to glue the roof on both sides

-
The roof is covered with meringue

-
Sprinkle colored sugar needles on it and it’s done. Place it on a cup or put it into a delicate little box and give it away
