Love baby mousse cake
Overview
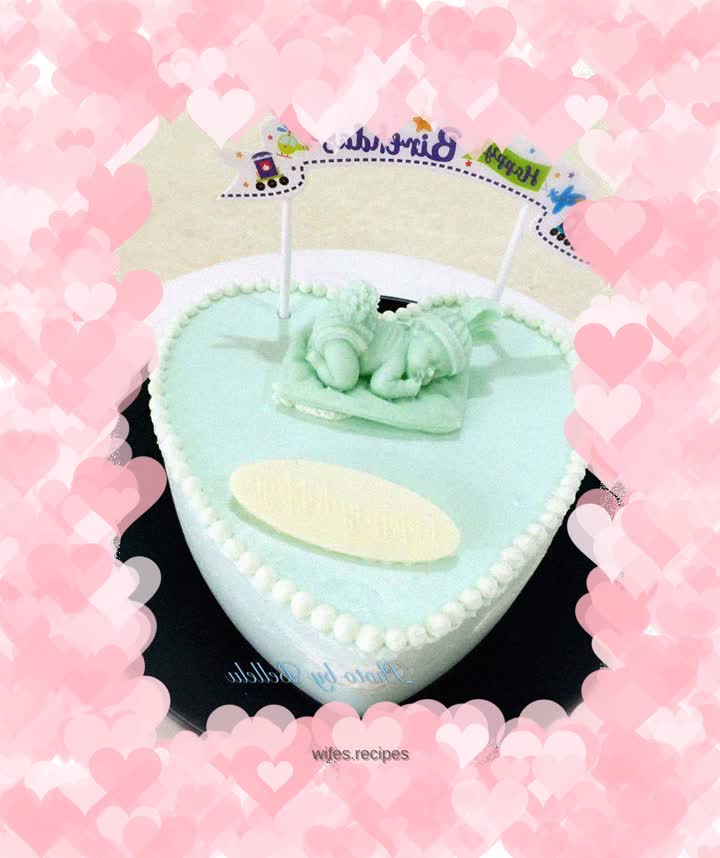
The heart-shaped mousse represents my love, and the chocolate finger-sucking baby on top represents our seven-month-old baby. I named this mousse cake Love Baby Mousse Cake and gave it to my husband as a birthday gift. I wish him happiness and success every day! Our family can be together happily forever!
Tags
Ingredients
Steps
-
Prepare a 6-inch chiffon cake, cut it into two pieces, and set aside two slices

-
Make it into a heart shape with one side smaller than the heart-shaped mold

-
Melt white chocolate in hot water

-
Smooth and delicate after melting

-
Pour some into the mold with the words "Happy Birthday" in Chinese and English. Just choose the one you like and put it in the refrigerator

-
Add 2 grams of blueberry fruit and vegetable powder for coloring

-
Pour into the thumb-sucking baby's mold and place in the refrigerator to freeze

-
Add the remaining chocolate solution to the yogurt, gelatine powder and remaining blueberry fruit and vegetable powder in hot water and melt it, then set it aside to cool down

-
Pour the light cream into a clean container without water and oil, add sugar and beat over ice

-
Beat until thick and not flowing. Scoop out a few spoonfuls of the cream and put it into a small bowl. Cover it with plastic wrap and put it in the refrigerator for decorating the cake tomorrow

-
Strain the cooled gelatine solution into the whipped cream

-
Mix well

-
Place a piece of cake in the heart-shaped mold, pour a layer of mousse liquid, then place the second piece of cake, and pour the remaining mousse liquid

-
Smooth the surface with a scraper and refrigerate overnight

-
I made this last night and it was just right to take it out this morning because today is my husband’s birthday

-
Demold

-
Beat the remaining cream from yesterday and put it into a piping bag. Use a round nozzle to squeeze out a circle of small balls for decoration

-
Squeeze a little cream and put the chocolate finger sucking baby

-
Squeeze a little more cream and put a chocolate Happy Birthday card

-
Then put in the happy birthday flag

-
Completed

-
Finished product

-
Finished product

-
Finished product

-
Finished product

-
Finished product

-
A close-up of my thumb-sucking baby

-
Such a cute cake, my husband said he couldn’t bear to eat it
