Buttercream hand-painted cake
Overview
How to cook Buttercream hand-painted cake at home
Tags
Ingredients
Steps
-
Weigh the ingredients for chiffon cake

-
Mix flour and cornstarch and sift

-
Pass twice

-
Separating egg whites and yolks

-
Add 23 grams of sugar to the egg whites in 3 batches and beat at low speed until stiff peaks form. Place in the refrigerator for later use

-
Add 13 grams of sugar, corn oil, and milk to the egg yolks and beat evenly with a whisk

-
Pour in the powder and mix evenly with a rubber spatula

-
Take the egg whites out of the refrigerator and put 1/3 into the egg yolk paste

-
Cut and mix evenly

-
Add 1/3 of the egg whites and mix well

-
Pour back into the remaining 1/3 of the egg whites

-
Cut and mix evenly

-
Pour into the mold and knock out the air bubbles

-
Preheat the oven to 180 degrees for 10 minutes in advance, put the mold in and bake at 150 degrees for 50 minutes

-
After baking, take it out and invert it immediately. After it cools down, manually remove it from the mold

-
Dice butter and soften at room temperature

-
Add powdered sugar and beat with a whisk until smooth

-
Pour in 100 grams of whipping cream and beat evenly

-
Whipped whipped cream

-
Spread glutinous rice paper on the picture to be made, clamp it with a folder, and trace the outline with an edible pen

-
Cut out the outline with scissors and stick it on the PET board with a little buttercream

-
This is the original picture

-
Toning, this is what I have left. Don’t throw it away. The picture may be damaged when it is moved to the cake. It will be used when repairing

-
Fill the shape with the colored buttercream, use an outline pen to outline the layering, and put it in the refrigerator for one hour

-
Because it needs to be shaped like a book, I cut off about 1 cm from both sides of the cake and made it into a rectangular shape

-
Then divide into two pieces

-
Take 250 grams of whipping cream and add 25 grams of sugar and beat

-
Take a piece of cake and place it on the decorating table, spread it with cream and sprinkle with raisins

-
Apply another layer of cream

-
Place another slice of cake

-
Wipe the face

-
Take a little cream and turn it into light green, then apply it on the surface and one side to look like a gradient book cover

-
I used a toothed scraper to scrape out the pages from three sides. I couldn’t find the scraper. The marks made with a small fork were not as neat as those scraped out by the toothed scraper

-
Take a little cream, add cocoa powder to color, and use a small star nozzle to squeeze out the decorative strips on the book cover

-
Carefully unmold the buttercream bird and move it to the cake. Use the remaining buttercream to repair any damaged areas

-
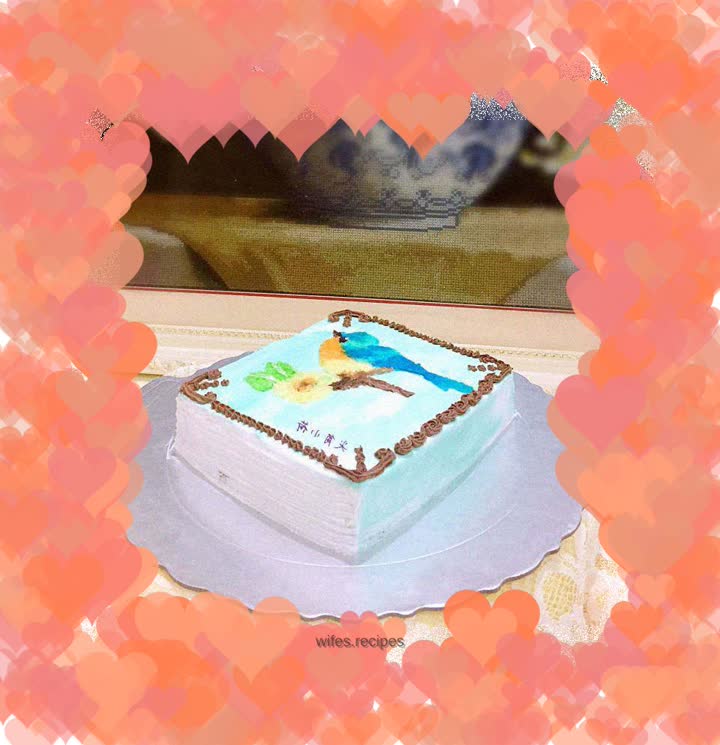
The sadistic production process is finally over, enjoy the finished product pictures

-
Although there are still many flaws in the finished product, after all, it took a whole day of hard work

-
Finished product

-
Finished product

-
Finished product
