Palace-level heavy cheesecake
Overview
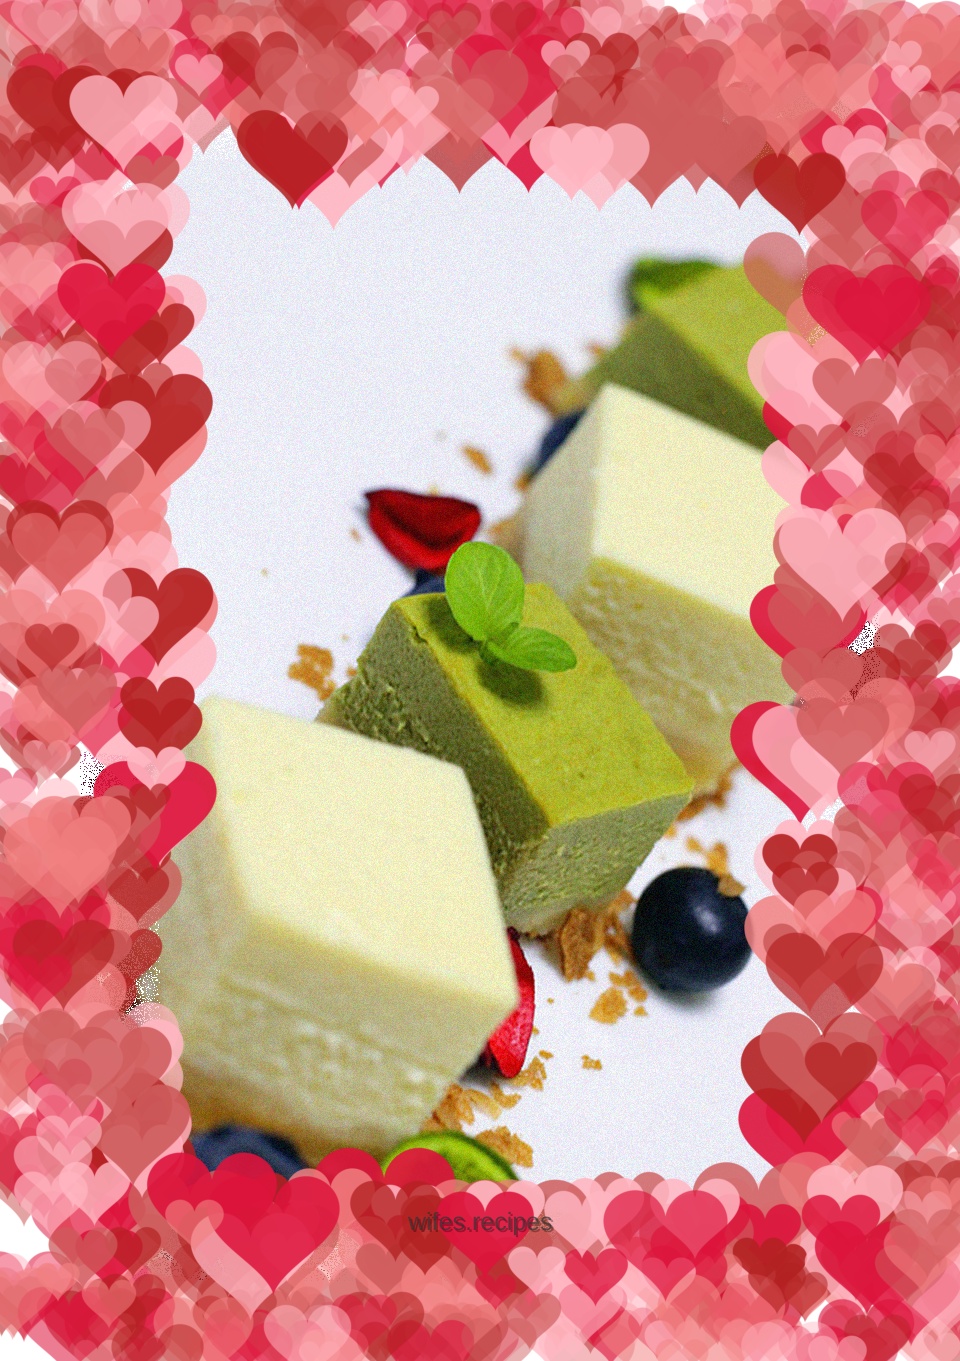
This heavy cheesecake recipe was my runner-up entry in a home baking contest this year. Today, I have selected two of them, hoping to share the beauty of this dessert with many food-loving friends. Cheesecake was born in ancient Greece. At that time, it was a food prepared for Olympic athletes. It was an important source of high-quality protein and calcium for athletes. Today's cake is low in sugar and has no starch, combined with the refreshingness of yogurt and the smoothness of whipped cream. Its taste is different from the heavy cheesecakes we buy outside. It has a delicate entrance and a long-lasting aftertaste. It is definitely worthy of my description of it as a palace-level dessert. With this small change of adding matcha, you can fulfill two wishes at once. Isn’t it so simple and wonderful?
Tags
Ingredients
Steps
-
Have all materials ready

-
Use a dough ball to crush the biscuits into powder. If you like a grainy texture, you don’t need to crush them too much

-
Melt the butter and pour into the biscuit crumbs and mix well

-
Put 50G biscuit base into each fruit bar mold, put 100G biscuit base into the cake mold, and use a spoon to help compact.

-
Wrap the prepared biscuit base with tin foil and refrigerate until ready.

-
Pour the white sugar into the cream cheese, and use a spatula to press the cream cheese evenly. When there are no obvious large lumps, use an egg beater to beat the cream cheese smoothly. If the weather is cold, you can use the warm water of a sitz bath to help dissolve the white sugar and soften the cream cheese.

-
Add yogurt and mix well

-
Add the eggs in two batches, mixing well each time before adding the second one.

-
In order to obtain a more delicate taste, sift the freshly made cake batter once. If you encounter large particles, use a spatula to crush them on the filter

-
Beat the light cream until it is 50% or 60% fluffy and semi-fluid, then mix well with the sifted cake batter

-
Pour the whipping cream into the matcha powder

-
Stir carefully until the matcha powder is completely dissolved and there is no dry powder

-
Divide half of the cheesecake batter into another container and mix well with the melted matcha powder

-
Pour the original cheese paste into a six-inch mold, and pour the matcha cheese paste into the fruit strips. Pour the boiling water prepared in advance into the baking pan, about two-thirds of the way up the baking pan, heat up and down to 180 degrees, and bake on the lower shelf of the oven for 60 minutes. After the baking time is up, continue to simmer in the oven for half an hour before taking it out. Remove the tin foil and wait for the cake to cool to room temperature, then place it in the refrigerator for 12 hours.

-
Prepare a large shallow dish and spread butter on one side of the pancake

-
Cut each of the two sesame cakes into small pieces, arrange them according to your preference, add fruit decorations and you're done!
