Chocolate Coconut Cranberry Cheese Mooncake
Overview
The flowers are beautiful, the love is strong, and the moon is full during the Mid-Autumn Festival. Every time we talk about mooncakes during the Mid-Autumn Festival, this chocolate coconut cranberry cheese mooncake (the name is a bit long, Ma Ma said, long names can attract people’s attention. (◍•ᴗ•◍)) It is not just a mooncake, but also a mooncake. For Western-style snacks, the Yi Xiaobao Cantonese-style mooncake pre-mixed powder is used, and the oil is returned quickly. After the oil is returned, the color is bright, the taste is warm, and very full. It is really excellent as a casual afternoon tea snack with a cup of Pu'er tea.
Tags
Ingredients
Steps
-
All materials are ready, and everything is weighed and set aside.

-
After the milk is heated over low heat, add the cream cheese, butter and sugar, stir until completely melted and turn off the heat. When the temperature is lukewarm, add the coconut and chopped cranberries and stir evenly.

-
Add cooked glutinous rice flour and mix well. (Glutinous rice flour should be fried in advance, stir-fry over low heat until the color is slightly yellow.)

-
Add the egg liquid last to prevent the egg liquid from being cooked, and stir thoroughly. (Crack one of the eggs into the bowl in advance and stir evenly,)

-
Wear gloves and divide into 12 equal parts, 29 grams each, and roll into small balls.

-
Place the kneaded stuffing in the refrigerator for half an hour.

-
First, weigh the peanut oil and Hershey's chocolate sauce according to grams, put them into a mixing bowl and stir evenly, then pour in the sifted flour and cocoa powder, and slowly mix evenly with a silicone spatula.

-
The kneaded dough will be smooth and moist, and set aside for a quarter of an hour.

-
Then divide into 12 portions, each 21 grams. With this recipe, I don’t have to worry about the foreskin getting dry and cracked, there is no such thing!

-
Wear gloves to operate, flatten the skin and then wrap it with the filling, push it upward slowly with your hands, and finally close it and shape it into a round shape.

-
It is pressed into shape using a 50g mold and is very easy to demould.

-
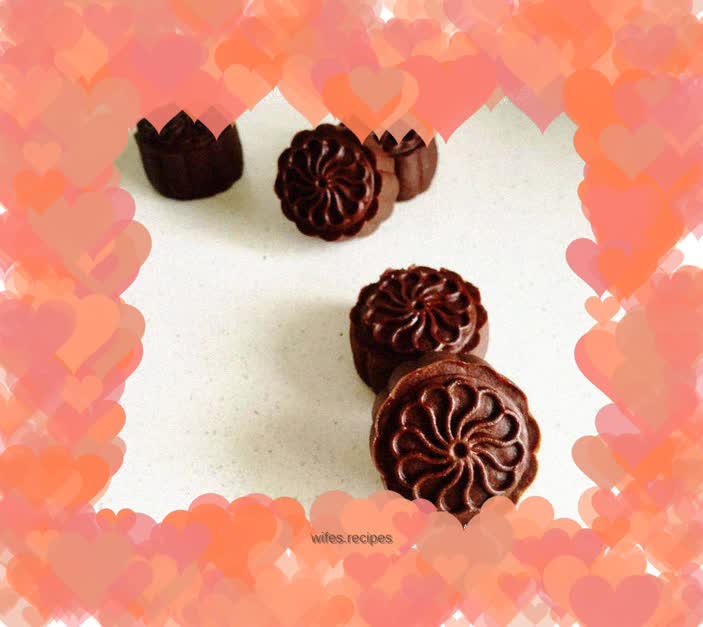
Press it all, isn’t it beautiful?

-
Preheat the oven in advance, set the upper and lower heat to 175 degrees, place the middle layer and bake for five minutes to set it, then take it out and brush it with egg white, yes, I am talking about egg white, not egg yolk, just brush it with a thin layer, then continue to put it in the oven and bake for another 12 minutes. This part needs to be monitored at all times. Every oven has a different temperature and you can adjust the temperature yourself. As long as the crust is cooked, the filling is already cooked.

-
It’s out of the oven!

-
Just take a photo~

-
Pat it carefully, isn’t it beautiful? Not only is it beautiful, it is also delicious. The slightly sweet taste is slightly sour, and despite the presence of cheese and butter, it is not greasy at all.
