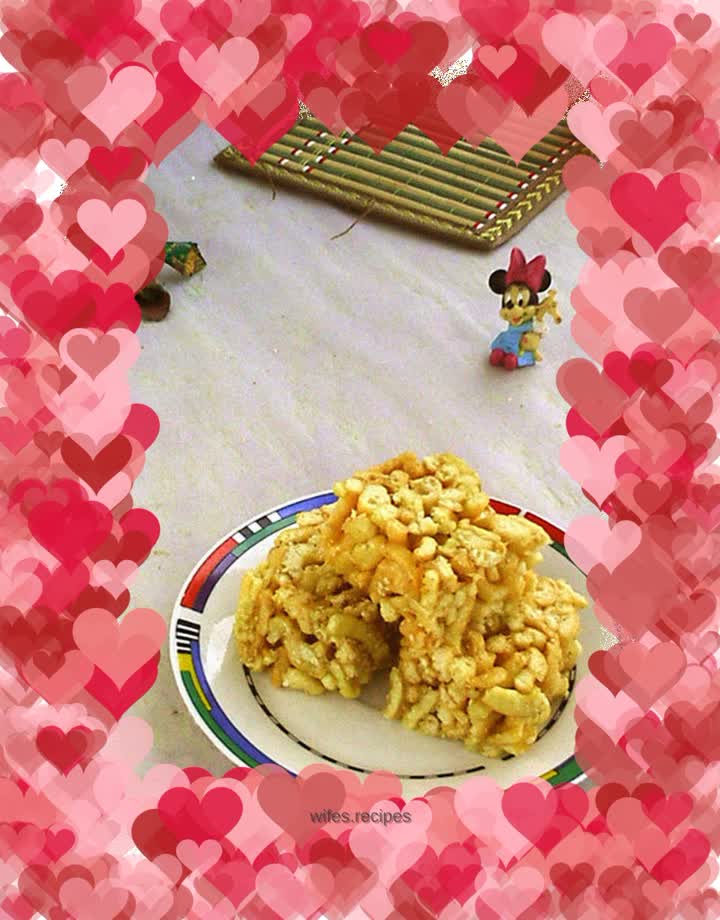
Saqima
Overview
Saqima has always been a traditional snack that people dream of but dare not take action. Because it requires a large pot of oil...until one day, I suddenly felt inspired, as if I saw an alternative way to make traditional fried snacks. The experiment with twists strengthened the confidence in this idea. Find a relatively sufficient time to test this inspiration. That’s right, it’s an air fryer. Can this thing called a fryer really solve all fried products? At least, later facts proved that it is indeed feasible to use a fryer to cook Sachima noodles in low oil. What's annoying, however, is the pot's mesh basket - the container that holds the ingredients being cooked. The gaps between the slender strips make it easy for the remaining oil to drip out, but it makes the thin noodles very troublesome: even though you are careful to place the noodles perpendicular to the gaps between the long strips to prevent the noodles from falling out of the gaps. However, because the noodles are too soft, they will fall into the gaps under the action of gravity. After heating and expansion, they will form a thin waist and get stuck in the gaps. People have to use their hands and feet to pull it out, which is very annoying. In any case, Saqima's noodles were finally completed, and the rise was pretty good. I just lamented that due to the pulling during the placement process and its own fall, the final noodles swelled up to be uneven in thickness. Just make do. The next step of boiling sugar is also a test. I thought I was fully prepared, but when it comes to it, I always find that there are shortcomings. Only the mold preparation is very complete, so complete, in fact, only one lunch box is needed. Some consequences are not immediately visible. After being shaped and cut into pieces, the saqima looks good, and when eaten hot, it tastes very much like saqima, except that the syrup has not penetrated into the noodles. The flaw was exposed on the second day. After being completely cooled, the syrup appeared slightly hard, which was obviously due to aging. Perhaps those unforeseen accidents delayed the opportunity? If I make it next time, I don’t want to use a fryer or a lunch box.
Tags
Ingredients
Steps
-
Dough ingredients

-
Beat the eggs until they turn yellowish white

-
Dissolve baking soda in water

-
Add to the egg mixture and stir slightly

-
Pour in flour

-
Make the dough into a soft and hard gluten dough and let it rise for 30 minutes

-
Roll out into 0.2cm thick pieces

-
Cut into 10X0.2cm strips

-
Dip in oil

-
Put into the preheated fryer, 160 degrees, fry for 3-5 minutes

-
Yellowish-white in color, take out of the pot

-
Prepare syrup

-
Put the water and sugar into the pot and stir to dissolve

-
Cook until 114 degrees

-
Add honey and sugared osmanthus and cook again to 114 degrees

-
Pour in the noodles and mix well

-
Sprinkle a thin layer of sesame seeds into the mold

-
Pour in the noodles coated in syrup and flatten the surface

-
Take out

-
Cut into 2.5X5cm long cubes
